

We have a number reasons to install a Bosch (Tesla) iBooster in our MX-5e and the OSSEV®:

In the Eunos Roadster, the braking system is quite simple and uses servo assistance. The brake lines pass through a 'proportioning valve', which enables the front/rear bias to be set.

The existing MX-5 brake servo module is held in place with four bolts through the bulkhead, which means it is mounted horizontally. The brake servo weighs 2045g without the pistons.

The second generation iBooster is more readily available and means we can also fit a newer part to the MX-5e but, the main downside of this version is that the fluid reservoir is not horizontal when it is mounted to a vertical bulkhead.
In an ideal world, we would be able to replace the fluid reservoir with a round tank, as is currently used in the MX-5. There is certainly plenty of headroom to accommodate this. This unit weighs 4635g.

The fluid reservoir is held in place by a roll pin.
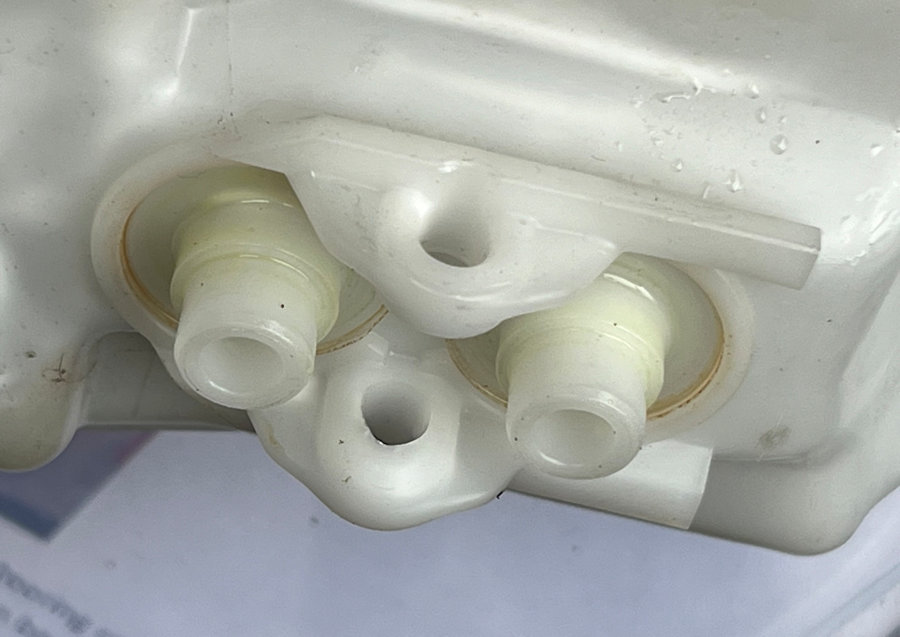
The two tank outlets are 11.2mm in diameter and have centres 28mm apart.
There is a really good guide on installing and iBooster on the EV Create website.

It wasn't till we had fully emptied the engine bay that we could be be 100% confident the iBooster would fit in our MX-5e. A trial fitting shows there is plenty of space though. It gets close to the suspension turret but will not touch it.
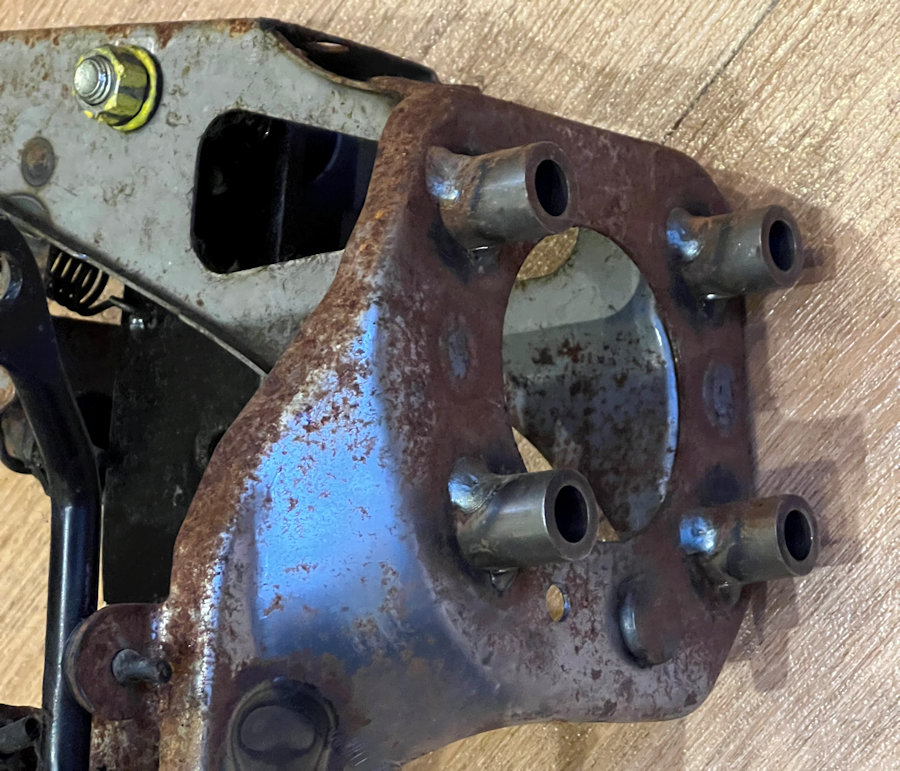
The back of the pedal mount does not sit flush with the bulkhead. It sits on welded spacers, presumably to get the right position and movement relative to the brake servo. We are going to have to find the best spacing for the iBooster and our mount.
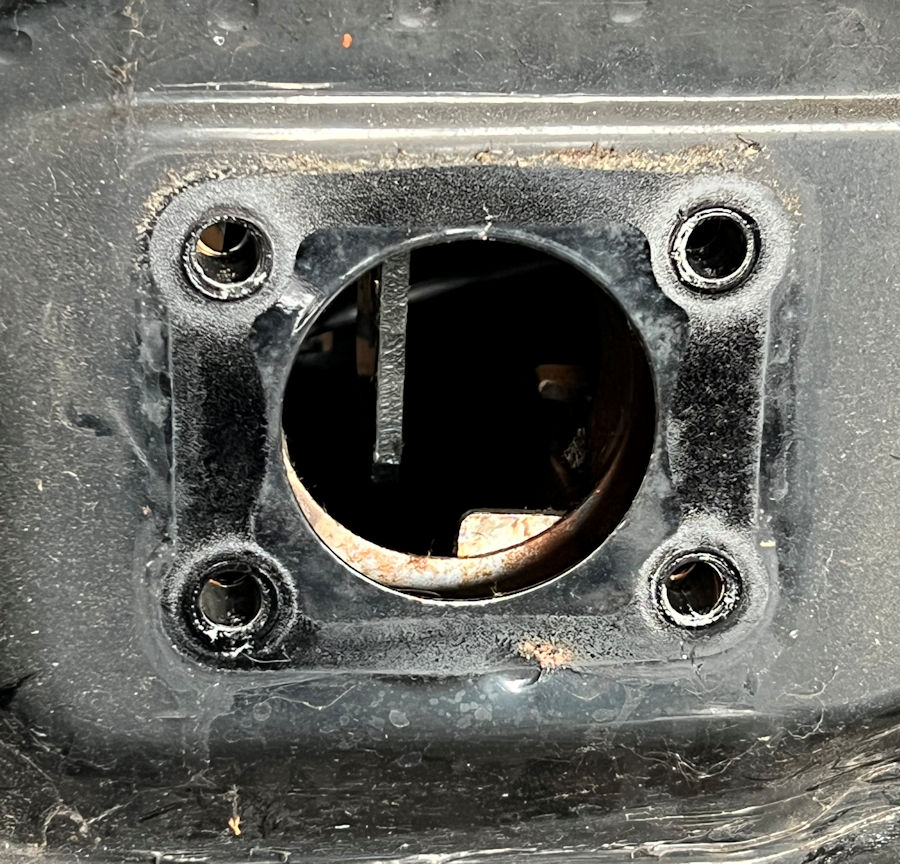
The existing MX-5 brake servo has M8 bolts spaced at 80mm (horizontally) × 60mm (vertically) and has a 56mm diameter central part that goes through the hole in the bulkhead. The actual central hole in the bulkhead is 63mm in diameter though.
Our Tesla iBooster also has M8 mounting bolts but they are spaced at 75mm (horizontally) × 66mm (vertically).
When we trial fitted the iBooster, we noticed two things:

We 3D printed a drilling template to help get the holes in the right place for the iBooster. These holes were enlarged before we resprayed the engine bay.

With the holes in the right place, the iBooster sits nicely, with the outlet ports in just the right place and all connectors easily accessible.

The MX-5 clevis is smaller than the Tesla one and has a different sized fitment thread. It also uses an M8 pivot bolt compared to the M10 holes in the Tesla clevis. Our current plan is to just use the Tesla clevis as we are are using a custom brake pedal.
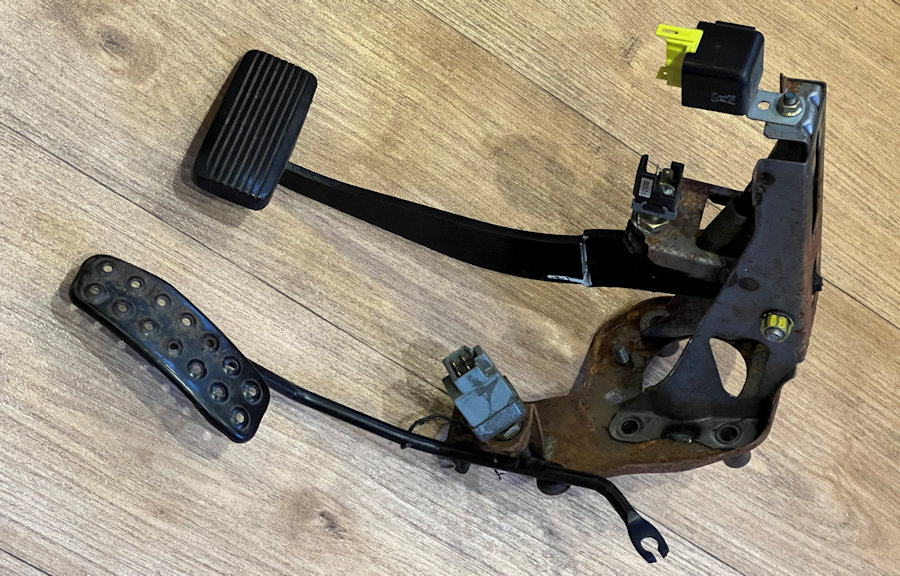
The MX-5 pedals (just two as this was an automatic car) and pedal box are not a brilliant bit of construction work but they do work. As shown here it weighs 2060g.
The two Tesla iBooster outlet ports are in very similar positions to where the MX-5 brake pistons have them. This means we should be able to re-use the existing brake pipes that run to the front brakes and rear brakes.
There is a really good guide on wiring up the iBooster on the EV Create website.
We are going to need to purchase the right connectors to wire up the iBooster.

There are 3 connectors on the iBooster. This first one is for the iBooster ECU.

The second connector has four pins and is for the pedal travel sensor. Some of these pins need to be wired back to the ECU connector.
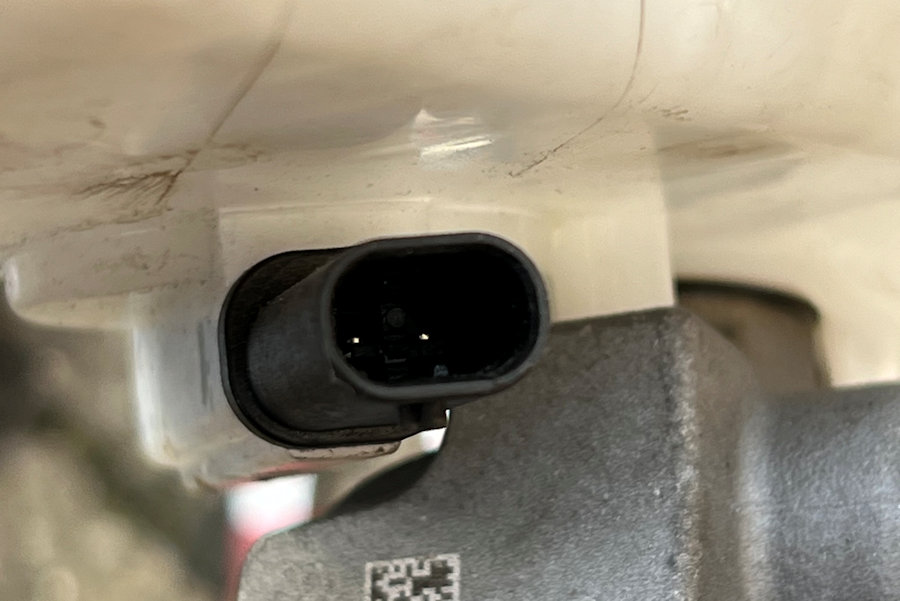
The third connector is for a brake fluid level warning switch. I'm trying to source a plug that fits this connector.
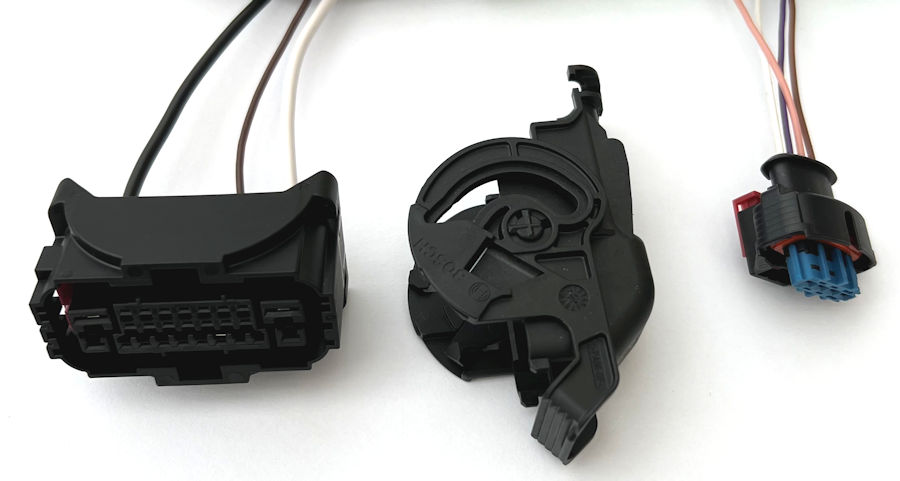
The wiring is fairly straight forward with my connector kit including the crimp terminals and moisture seals. The iBooster has a permanent power supply (4mm² white) and a switched power supply (2mm² brown/red). The position sensor has four wires running to the main connector.
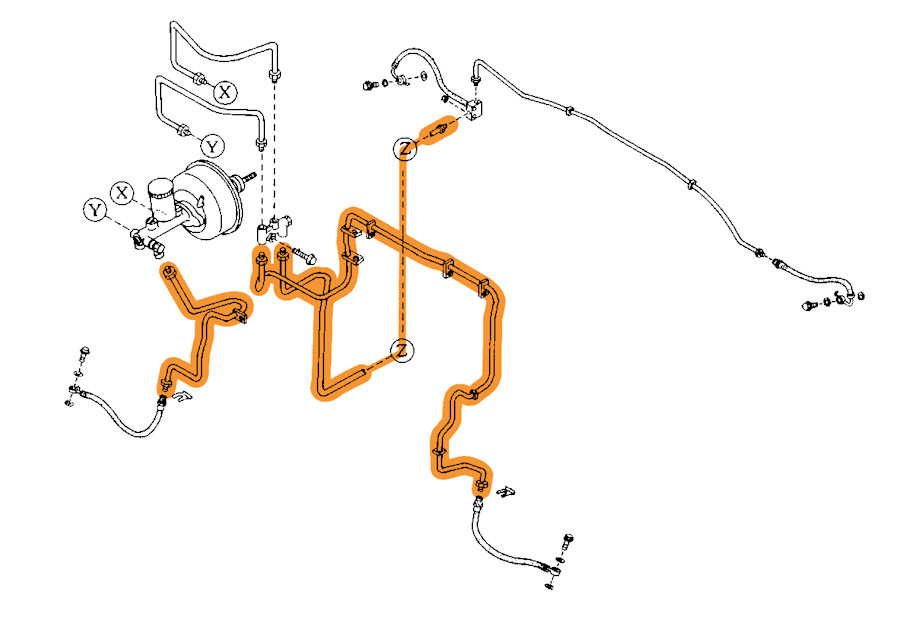
The MX-5 / Eunos Roadster braking system is pretty simple and our MX-5e installation is also very simple.
We have replaced the brake pipes to the rear of the car and added new juctions and unions. A single feed runs from the bias adjuster to the rear of the car.
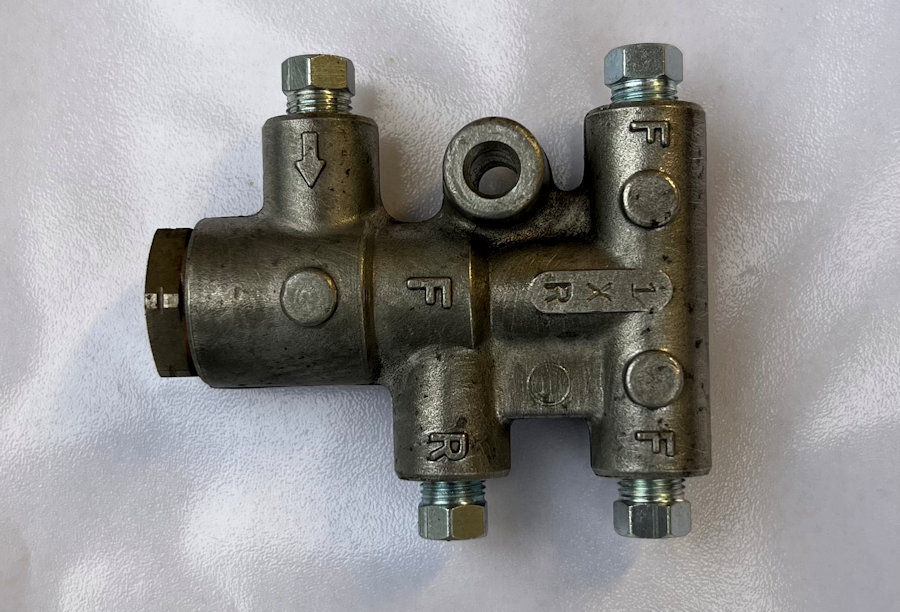
The car uses a preset bias adjuster and we have simply cleaned this up and refitted it. The front / rear bias can be adjusted if required. There is only one outlet for the front brakes, so we are using a T-piece to split this front line to the two front wheels.