

We have some goals to complete this month but, with Rob's dad terminally ill, we are not likely to complete them all.

Right from the outset we planned for the OSSEV® and MX-5e to have a great entertainment system. Whilst the addition of the sub-woofer added some much needed bass, the audio was all a bit too forward centric. To fix this we have run some quality OFC speaker cables from the head unit to the rear parcel shelf and are installing these Pioneer TS-X150 surface mount, 3-way speakers. They are quite subtle and sit where the soft-top would be when down. These will bolt to the metal 'parcel shelf' and avoid the need to cut holes in the metalwork.

The Yokohama Advan Neova AD08RS tyres arrived. These are 205/50 R15 86V spec and are being fitted in the next few days.
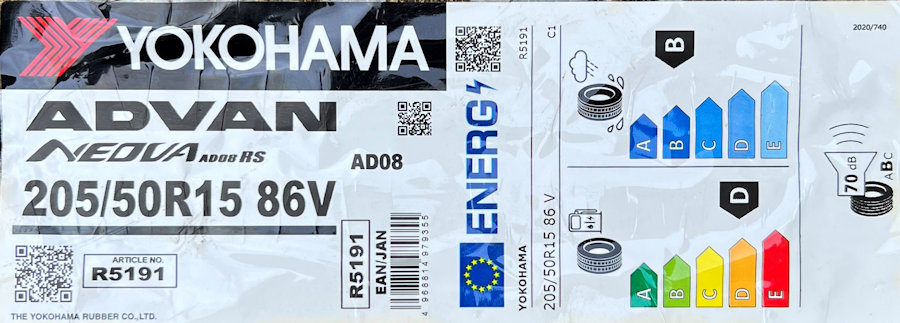
We know the AD08RS tyres are good as Ethan has them fitted to Yoko. Yoko has 6.5" rims with 195 tyres though. Each tyre weighs 9.3kg each. The efficiency isn't brilliant but we are not too worried about that. The V speed rating equates to 149mph. We went for 7" rims and a 205 tyre to better handle the extra torque that the EV will have.
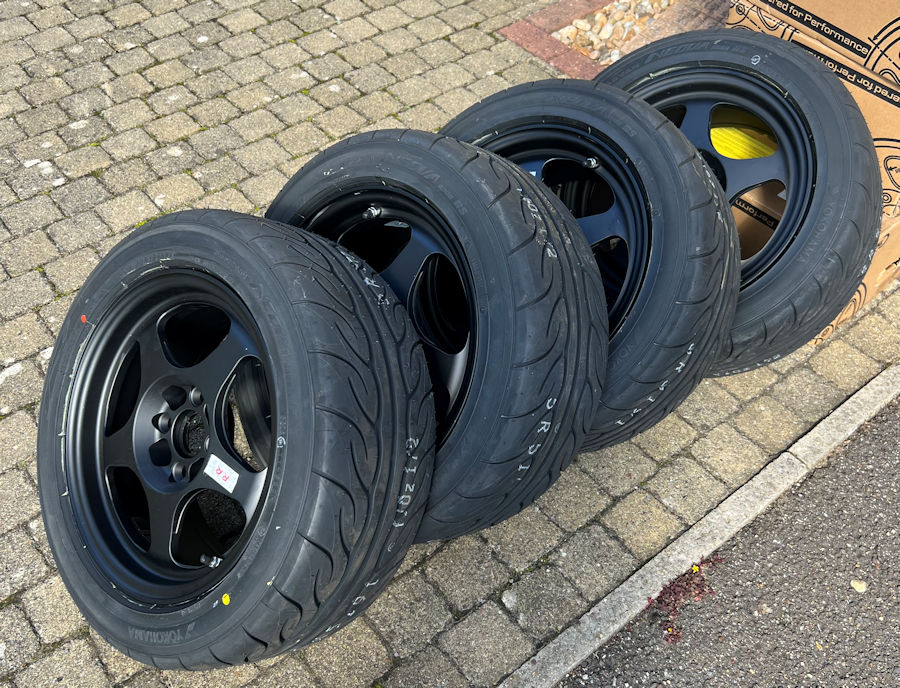
With Rob's Dad being ill, we are finding very little time to work on the MX-5e Managed to get the new tyres fitted to the wheels today though. The Tyre Pressure Monitoring System (TPMS) sensors are installed and we will be setting them up and testing communication later this month.
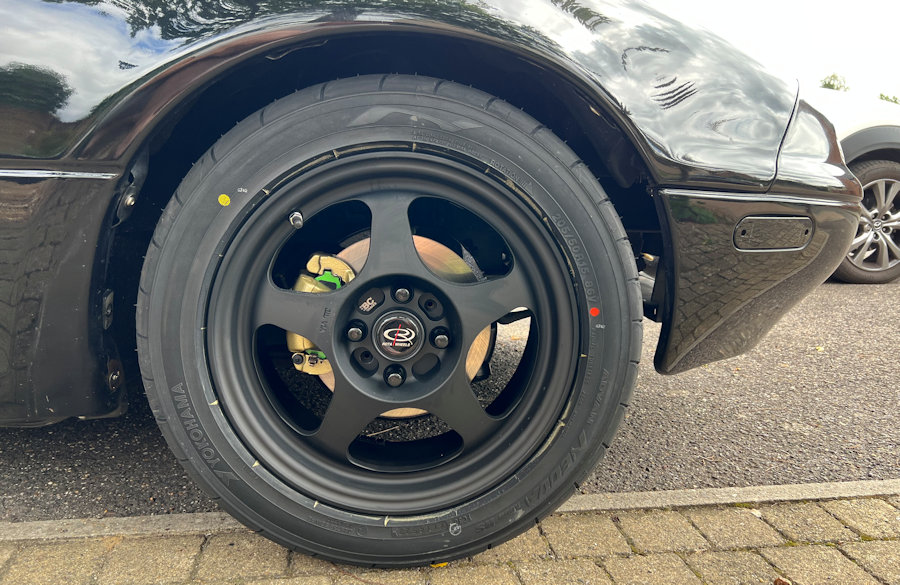
Fitting the new 7" wheels and 205/50 R15 tyres was a quick job. We had to slightly change the angle of the braided brake hoses at the banjo bolts, to stop them hitting the tyres on full lock. The wider tyres are to handle the 300bhp / 400Nm that we are likely to achieve with conversion to an EV.
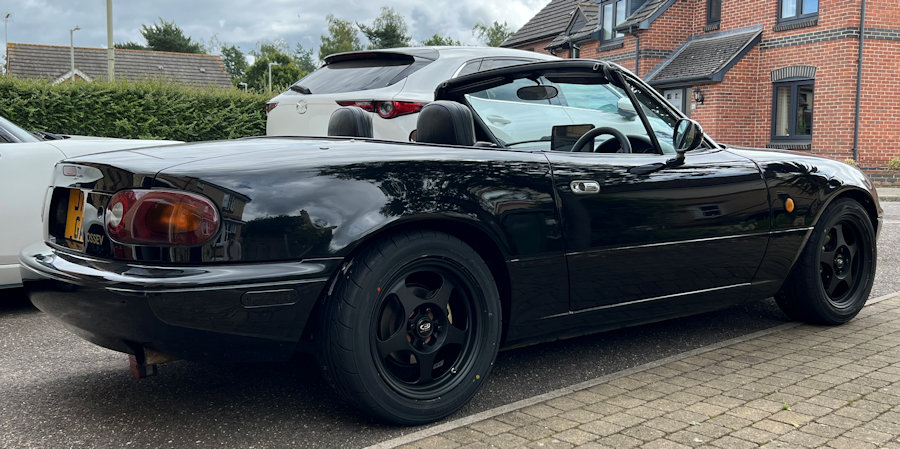
The new wheels and tyres look great on the car and the black 'stealth look' is coming together. We have yet to fit the dark tinted side repeaters.
A quick test drive reveals that the ride is much improved and even with the tyres yet to be scrubbed in, the grip levels are much higher than the old tyres we have been using. Any worries that the wider tyres would affect the steering feel were misplaced. The feel through the wheel is even better and it's now a lovely involving car to drive. It just needs to be faster and with a much more responsive throttle pedal.
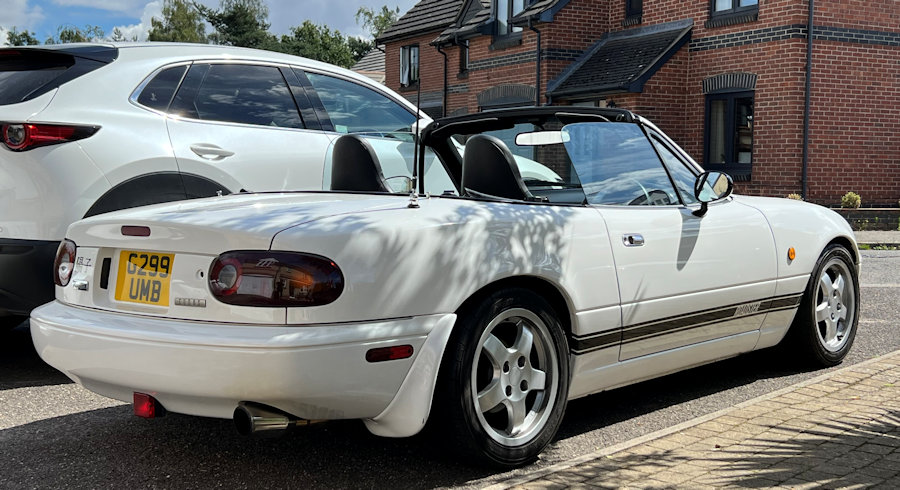
Yoko passed her MOT today too 😎

Rob's dad died on Wednesday (16th) 🙁
Whilst back at home, Rob finally got to test drive the MX-5e with it's new wheels and tyres on some of my favourite twisty roads and in the sunshine. It is a properly fun car to drive and the grip levels are very good.
We also ordered the electric motor and inverter today. We expect to get back to making proper progress next month but, family has been my priority this month.

Ordered the Thunderstruck Vehicle Control Unit (VCU) for the MX-5e. This is part of the wider MX-5e motor installation project.
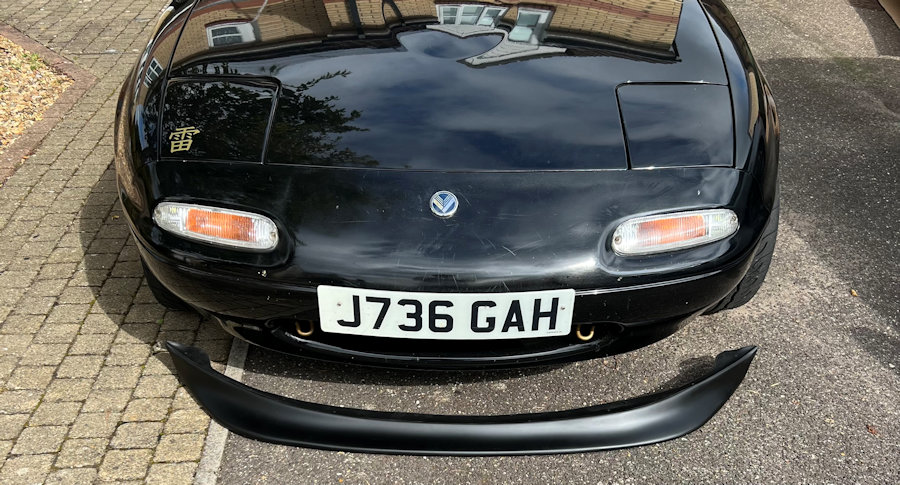
Fitted the front splitter from BOFI Racing today.
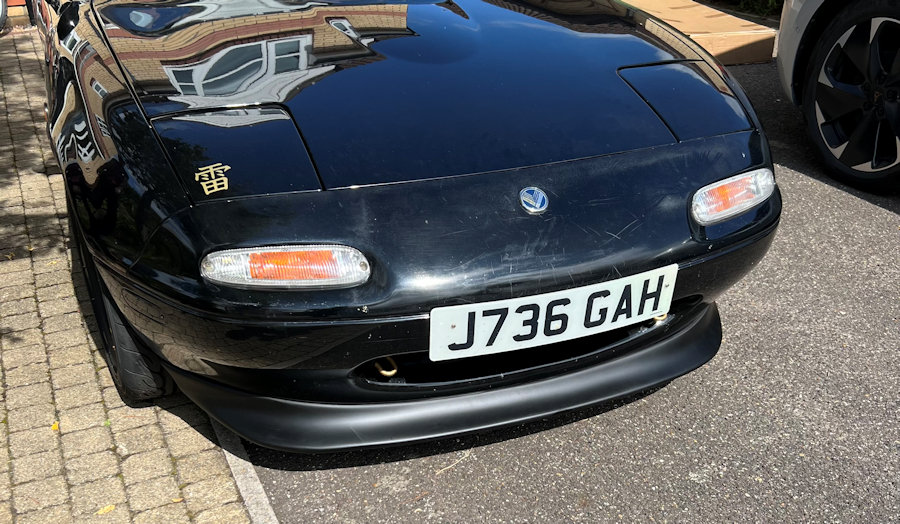
It is held on with M5 flanged stainless-steel bolts and nuts but will be bonded to the front bumper and the seam filled before the final respray.

Quick test drive in the sunshine with the new splitter fitted, to check there are no new noises or vibrations. All good 🙂
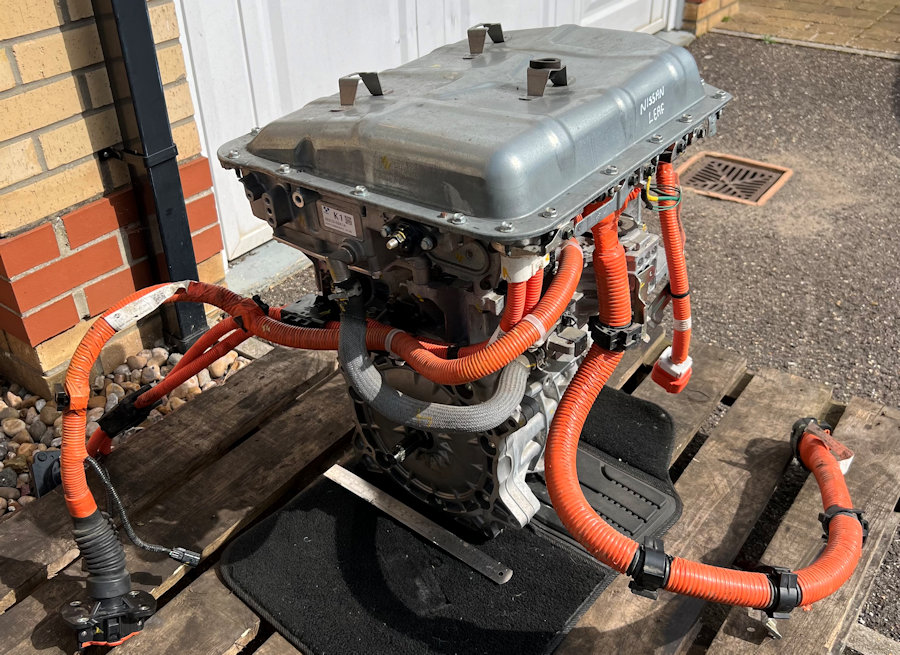
The Nissan Leaf motor arrived on a pallet today 😎 We got more than we paid for with the charger still in place on top of the inverter and a bunch of other useful cables still connected 🙂 You can read a lot more about our MX-5e motor installation project.

The motor is nice and compact and any doubt we had about it fitting within the MX-5e have gone.
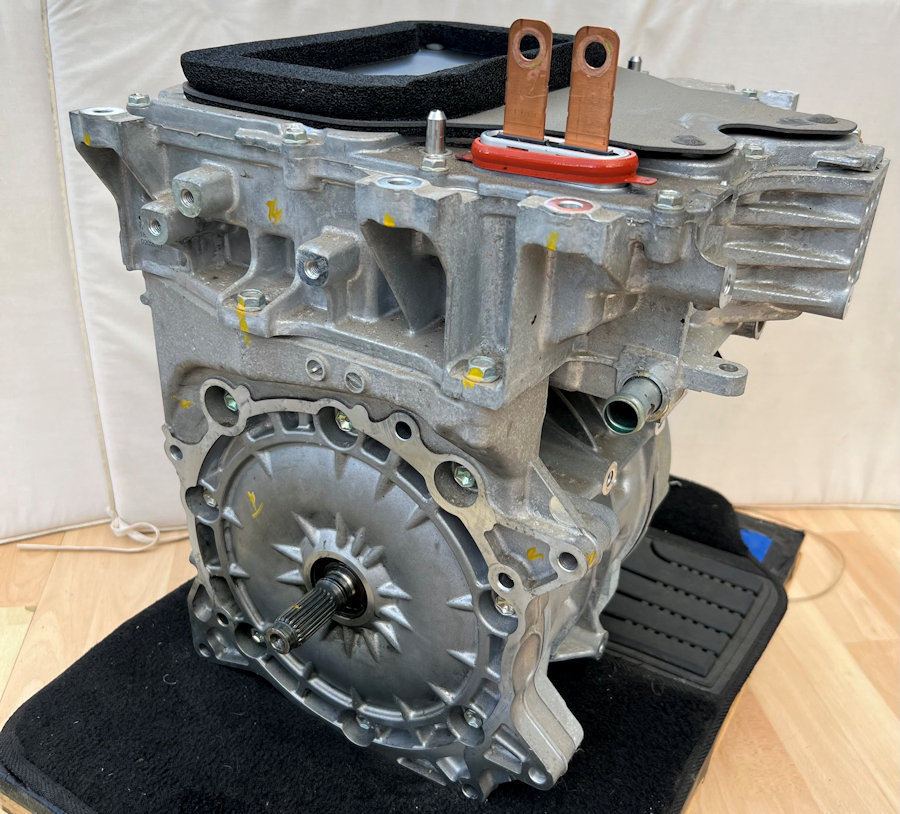
Ethan was keen to remove the charging unit (15kg) and cables (5kg). We also removed the cooling pipes as we plan to fit our own. The plan is to use stainless steel jubilee clips and in-line temperature sensors, to monitor inlet and outlet temperatures from the inverter and motor. We plan to test the motor in this state next.

An early morning drive up to Orford Quay, via some of our favourite local B-roads.

Despite the empty roads, driving a black car through dappled sunshine and tree lined B-roads places a burden on us to make it a bit more visible. The front side lights have been upgraded to super bright LED bulbs and we use the side lights as day-time running lights most of the time.

Rob has frequented Orford Quay in most of the cars he has ever owned, so he knows the roads really well and can compare how the various cars drive and perform. This includes a Lotus Elise, Subaru Impreza Turbo, Fisher Fury R1, CUPRA Born, etc. The MX-5e compares pretty well with all of them, but it lacks power and acceleration. It is still a lot of fun to drive already.

Enjoying driving the MX-5e in the sunshine in between the odd jobs we can do. A black car is hard to photograph in the sunshine! Parked up on Ipswich Waterfront. Notice the tinted side repeaters have now been fitted.
Did some testing today with the water temperature sensors and an Arduino processor. We can now monitor the temperature at all the required points in the cooling system 🙂

In order to progress our MX-5e motor installation project, we need to be able to fit a temporary cooling system and this will include all the sensors too. Once we have the engine located in the car, we will swap this cheap hose out with proper silicon hoses. This reinforced clear hose was delivered today and is rated to about 70°C.

We had another delivery today from ThunderStruck Motors, which was the Vehicle Control Unit (VCU) for the MX-5e and some ancilliary parts to allow us to test the Nissan Leaf motor very soon.
We went with this proprietary VCU to reduce the learning curve involved in getting our EV moving.

The Tesla water pump arrived today for the MX-5e motor installation project.
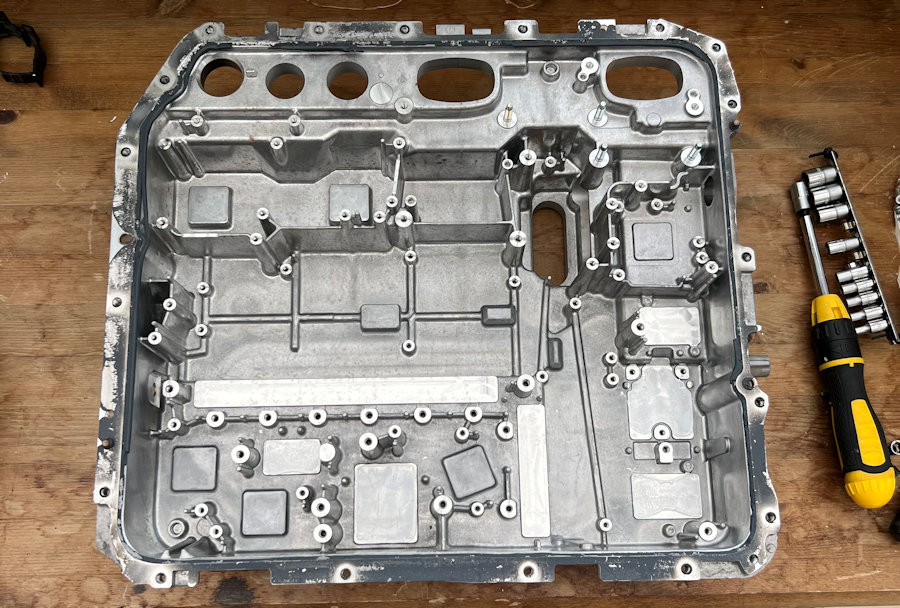
We also finished stripping down the Nissan Leaf charger module for useful parts. As well as two contactors and loads of useful cables, we even removed the press-fit coolant hose connectors, which might prove useful when we come to route the cooling system.
January 2025 •
February 2025 •
March 2025
January 2024 •
February 2024 •
March 2024 •
April 2024 •
May 2024 •
June 2024 •
July 2024 •
August 2024 •
September 2024 •
October 2024 •
November 2024 •
December 2024
January 2023 •
February 2023 •
March 2023 •
April 2023 •
May 2023 •
June 2023 •
July 2023 •
August 2023 •
September 2023 •
October 2023 •
November 2023 •
December 2023