

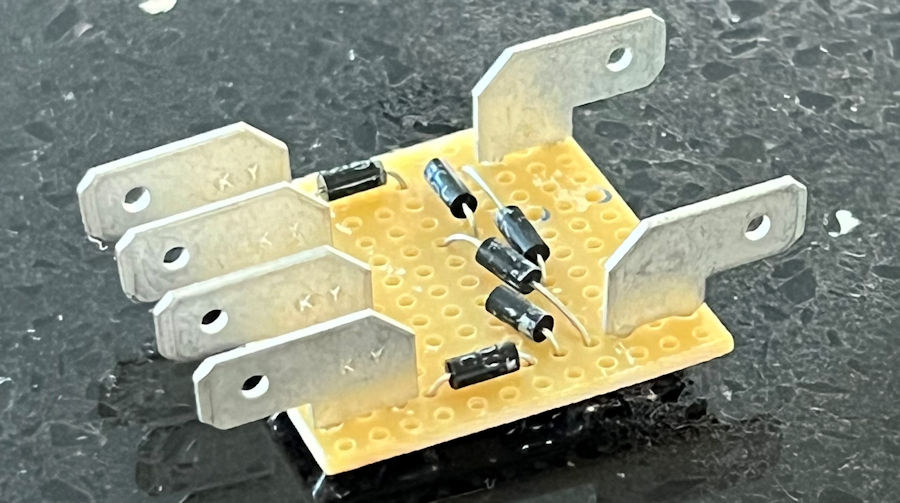
Having rewired the pop-up headlights, we needed to create a compact logic board to enable the left and right actuators to be operated by the 'wink switches' and also both be operated by the tombstone switch and when the headlights are on. This is achieved using six diodes.
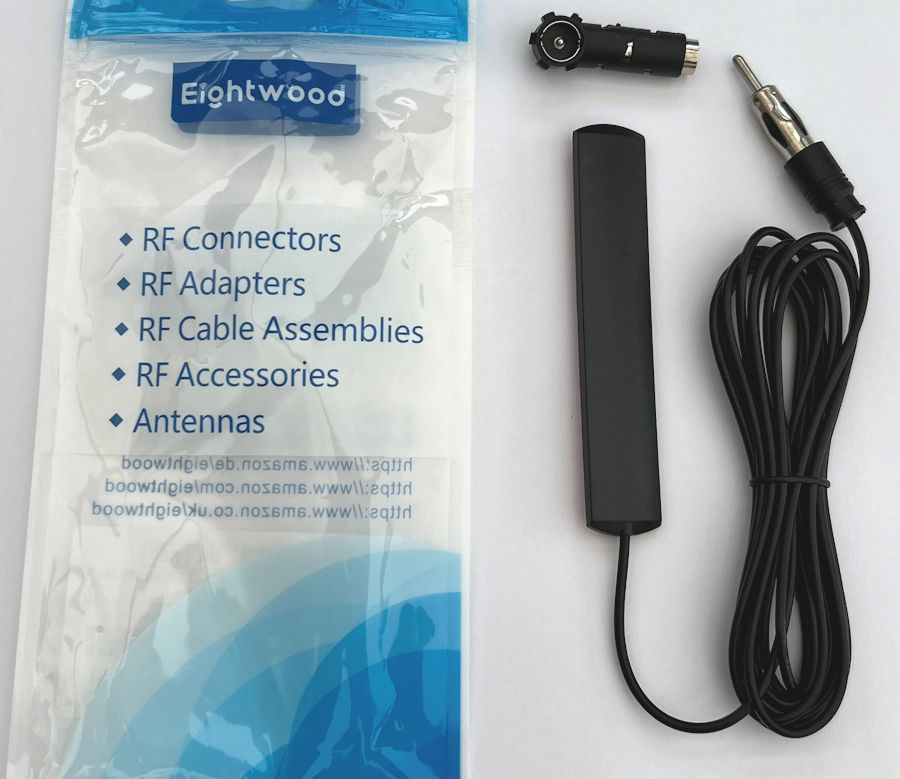
Rob doesn't ever really listen to the radio in our cars but, other family members do. So we need to fit an aerial to the head unit. We really don't want to clutter the rear quarter panel with an aerial though, so we are fitting this invisible aerial under the dash and out of sight. It is designed to be screen mounted but, the Eunos dash is plastic and it can be hidden on the underside.
Having tested it, it works well. I wondered what the adaptor was that came with it but, we needed it. It weighs just 46g.
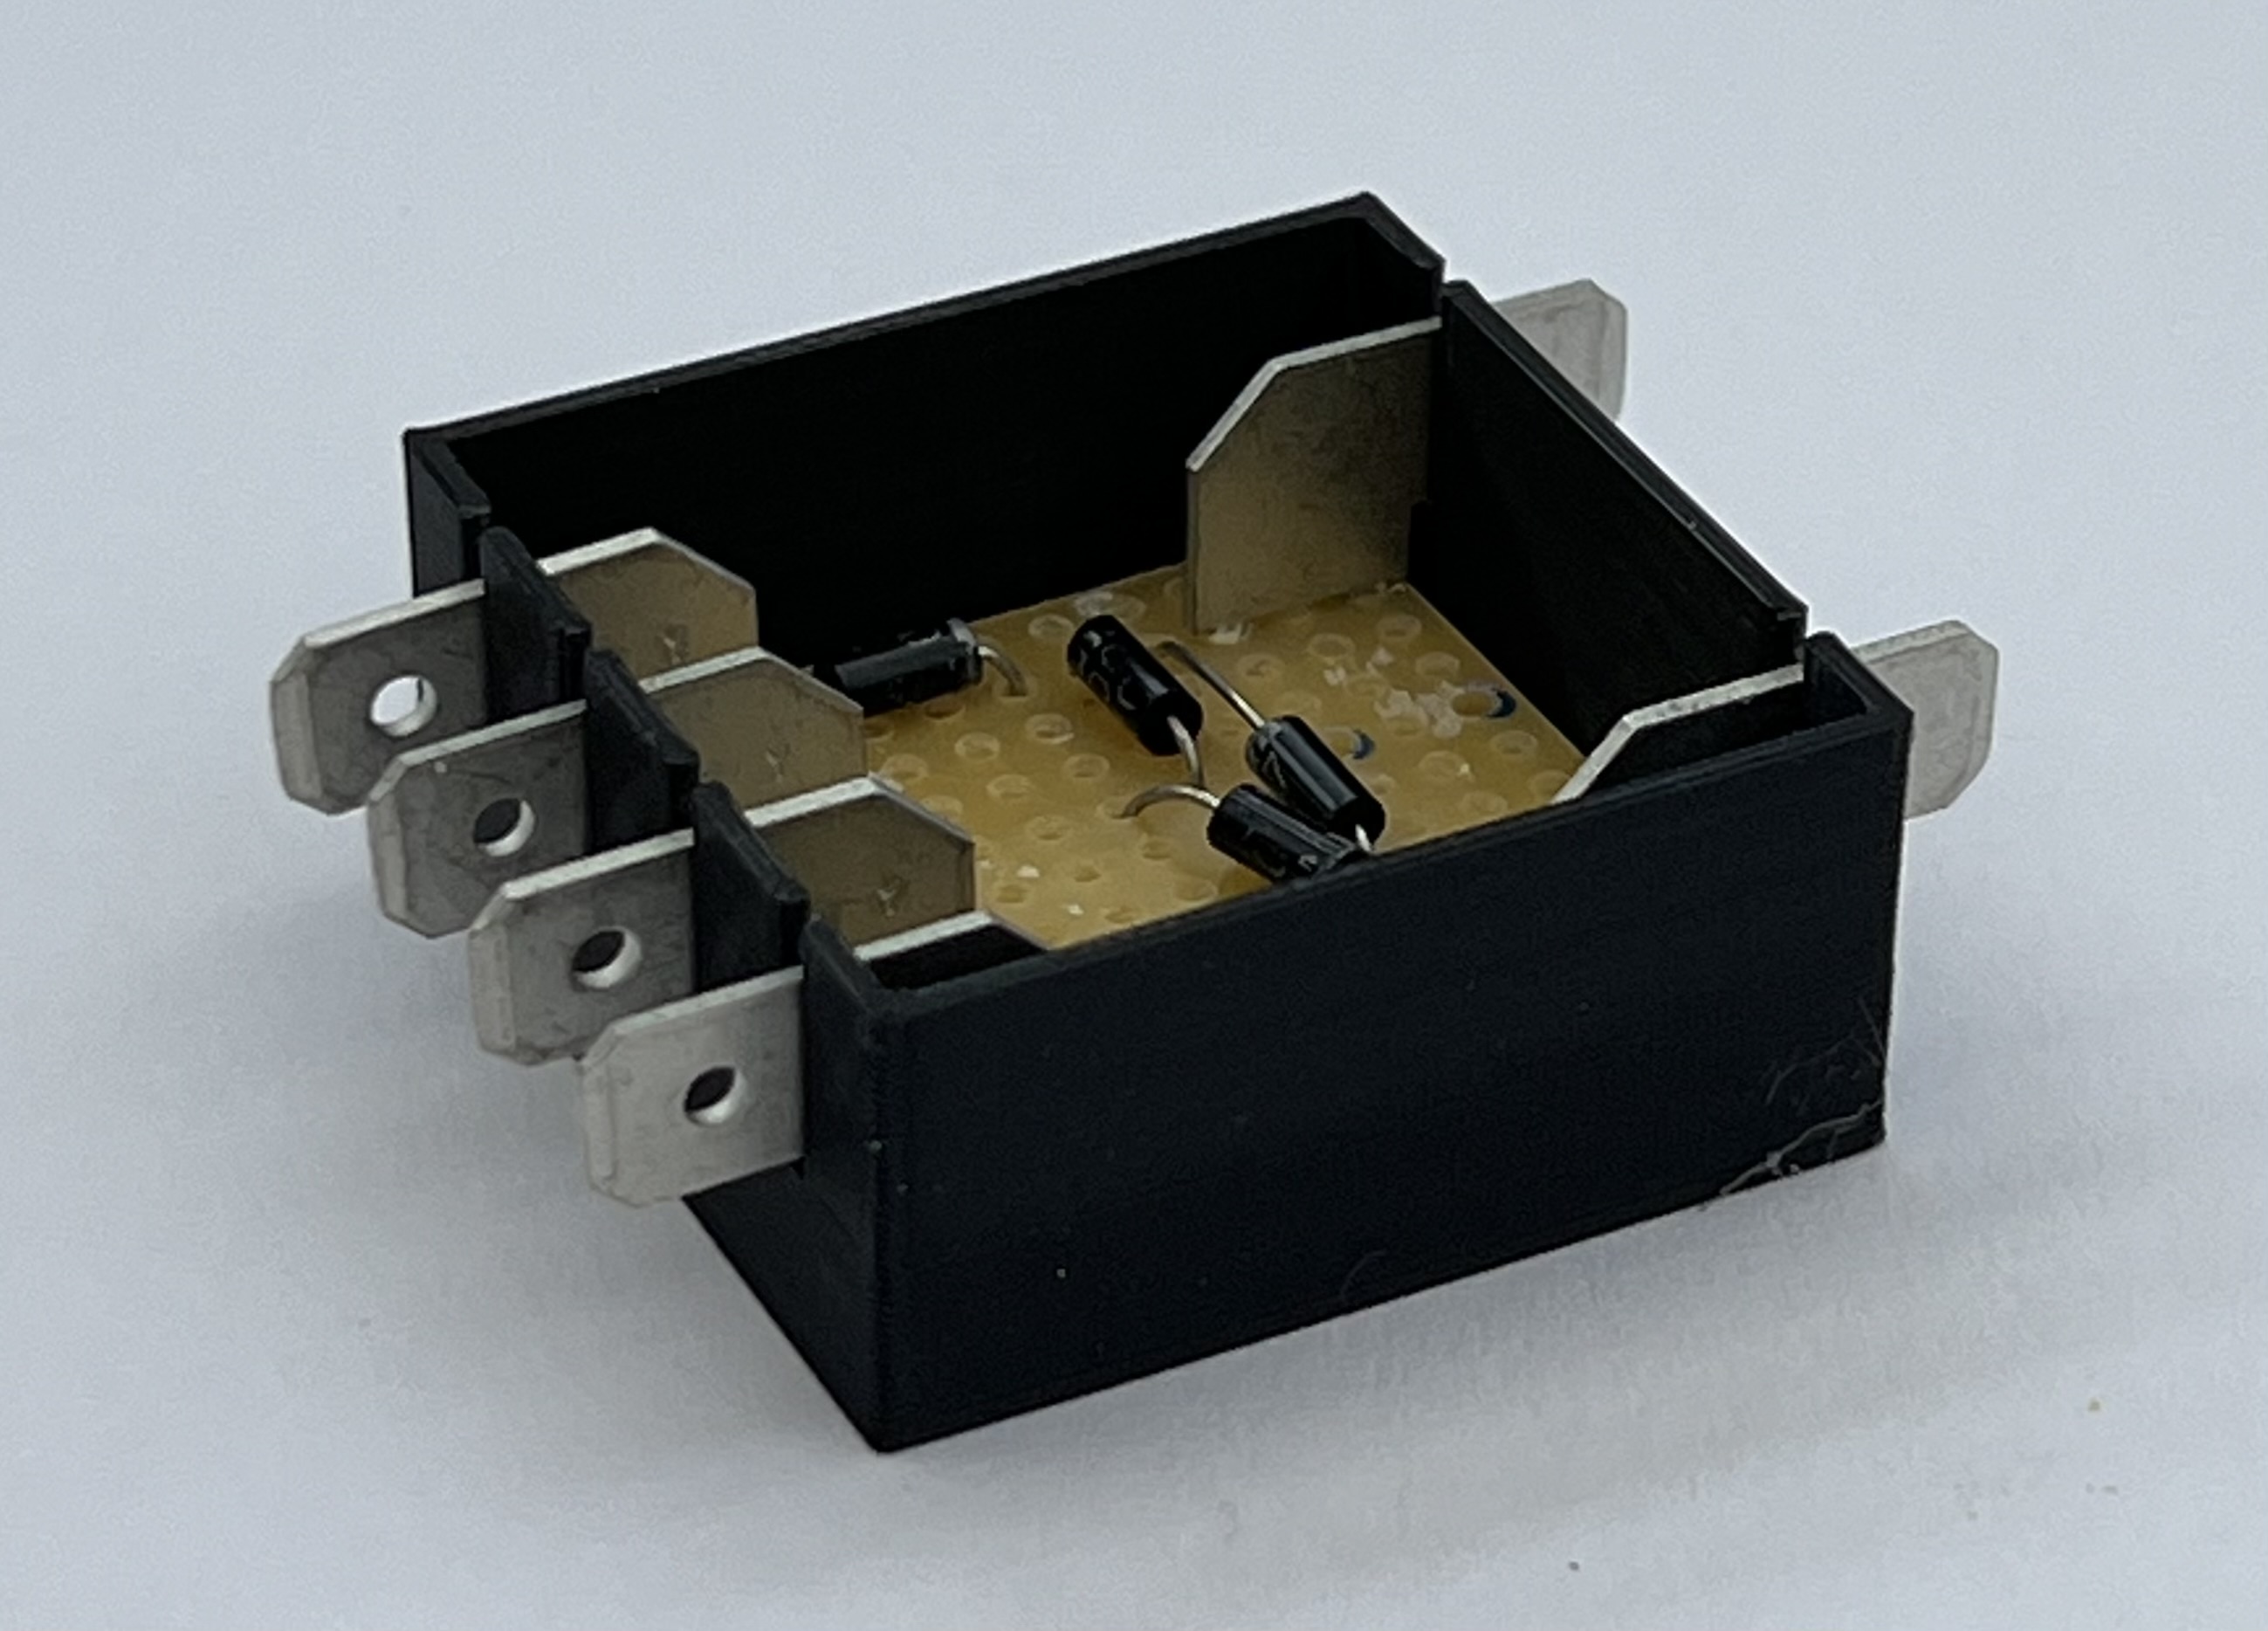
We designed and 3D printed and enclosure for our pop-up headlight logic PCB. This will be "potted" using a potting compound, leaving the 6.3mm spade terminals exposed. Whilst it doesn't look like the 6.3mm blades stick out very far, they are far enough out for the female crimp terminals to fully seat and lock in.
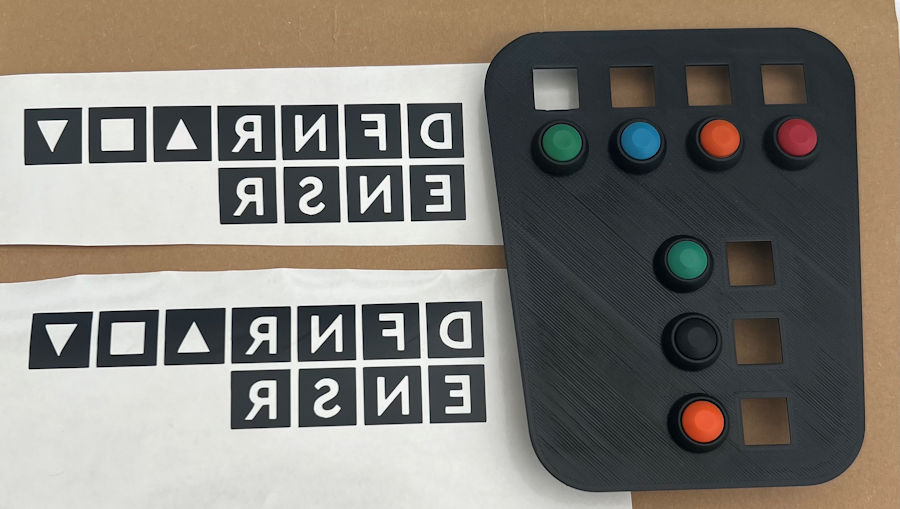
Picked up the vinyl graphics for the visual indicators. These will be stuck to grey acrylic squares and back-lit using addressable RGB LEDs, through a suitable diffuser.
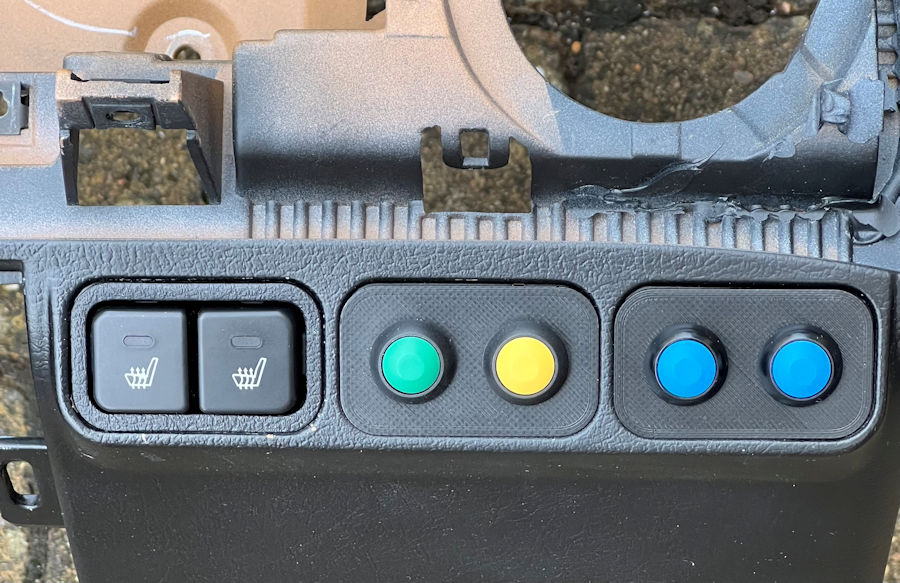
Whilst we finish rewiring the pop-up headlights, we tested the switches in our MX-5e "test dash" (the original tan one that we spray painted black).
The mk II switches for the heated seats fit perfectly, alongside the pedestrian warning system switch (green), fog light switch (yellow) and the two momentary switches for the pop-up headlights winking feature.
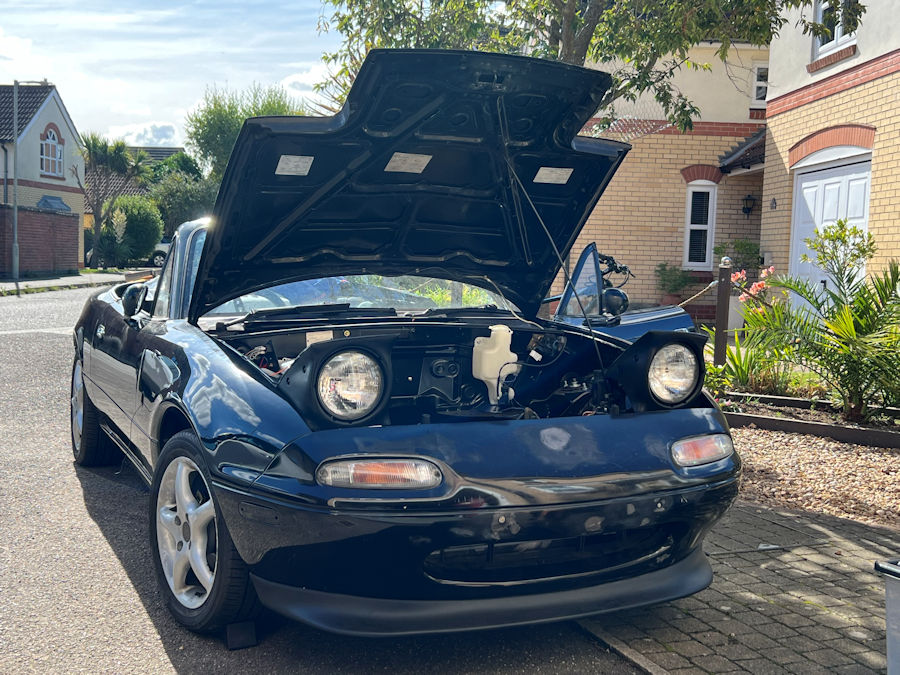
The MX-5e rewiring project nears completion. We have all the lights working properly now.
Today we tested the headlights winking and it's all looking good 😎 You can watch a video of them in action on our YouTube channel.
Today we completed the wiring up and testing of the dashcam and wireless phone charger. Both are powered when the ignition key is turned to the 'ACC' position.
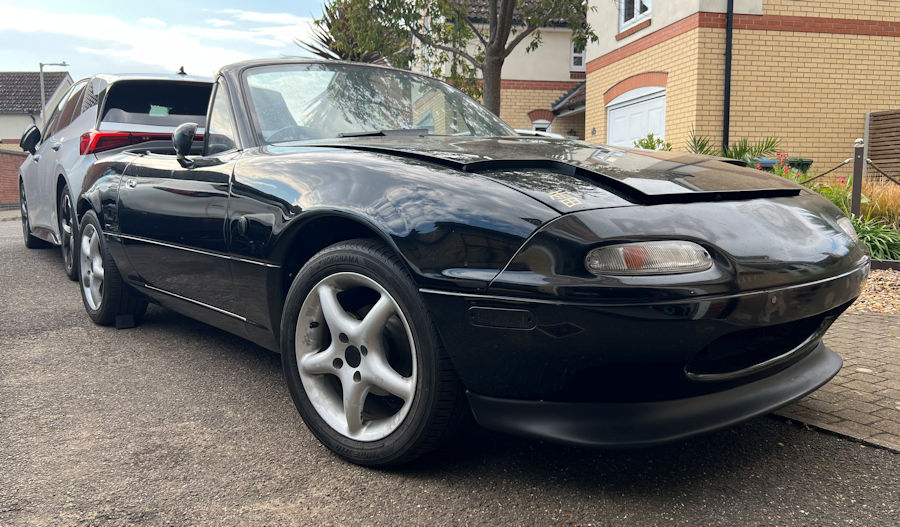
Testing the indicators and hazards today. These are wired up to an electronic flasher module, so it has a constant flash rate regardless of load. This measn we can use the OEM lights or LED replacements later. We have also massively simplified the tombstone hazard switch wiring, to help reduce the weight. The hazards have to work with the ignition off, so we have also wired the indicators to work this way. It's just simpler and involves less wires.
We have fitted LED side repeaters to the MX-5e and also amber LED marker lights front and rear. That's a lot of indicators but, it makes the driver's intentions very clear and without adding any real weight. We had to put something in these holes in the bumpers.
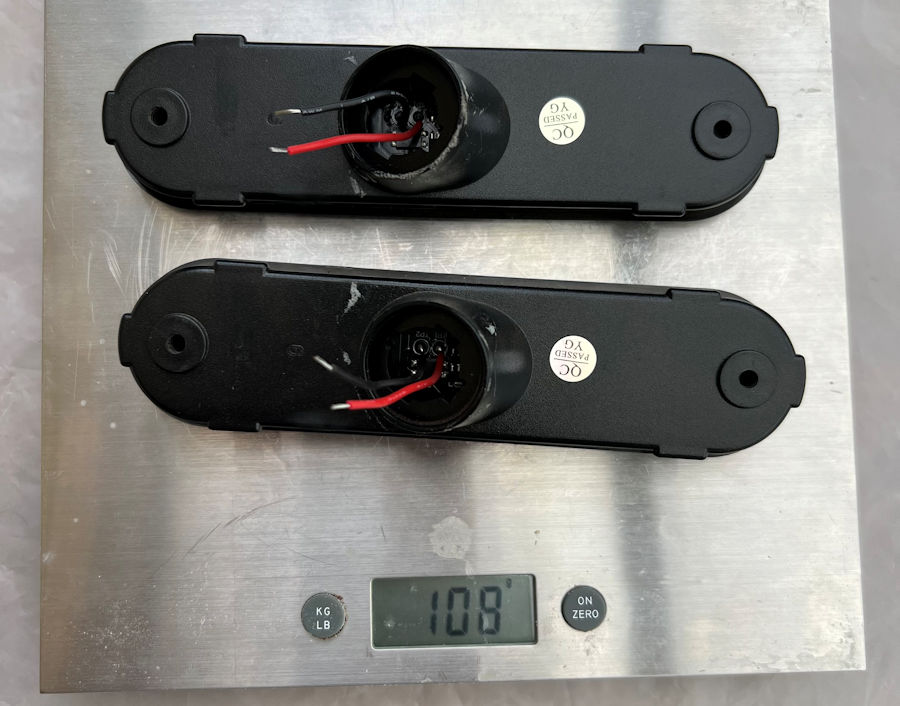
We are fitting amber LED marker lights into both the front and rear bumpers and these are wired up as indicators. These use 2-pin connectors to the main wiring loom, to allow them to be removed with the bumpers. The quality is pretty good but, the electronics inside are left too exposed for our liking. So we have filled them with clear expoxy resin to fully waterproof them. This increases the weight of two marker lights from 108g to about 190g. We can live with that given the improved reliability.
If you also want to do this, then fill the screw/mounting holes with silicon sealant first as the resin will leak out otherwise. The silicon sealant can be pushed out once the resin has set.
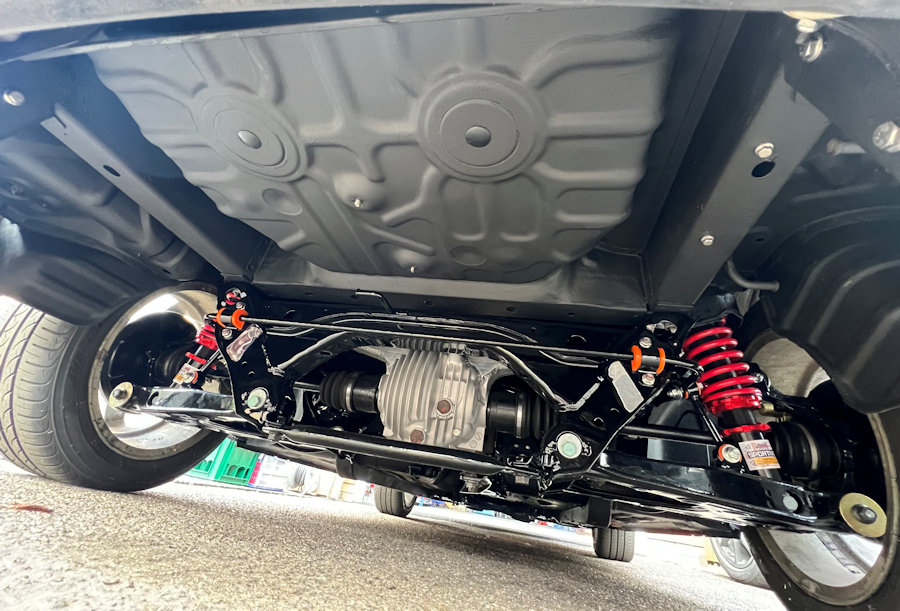
Whilst fitting the rear marker lights, we could see the huge empty space under the boot floor and wondered if a space saver would fit in this gap. We don't plan to carry a space saver all the time but, it would be a nice option to have available. It might even be possible to fit a full size spare in this gap.
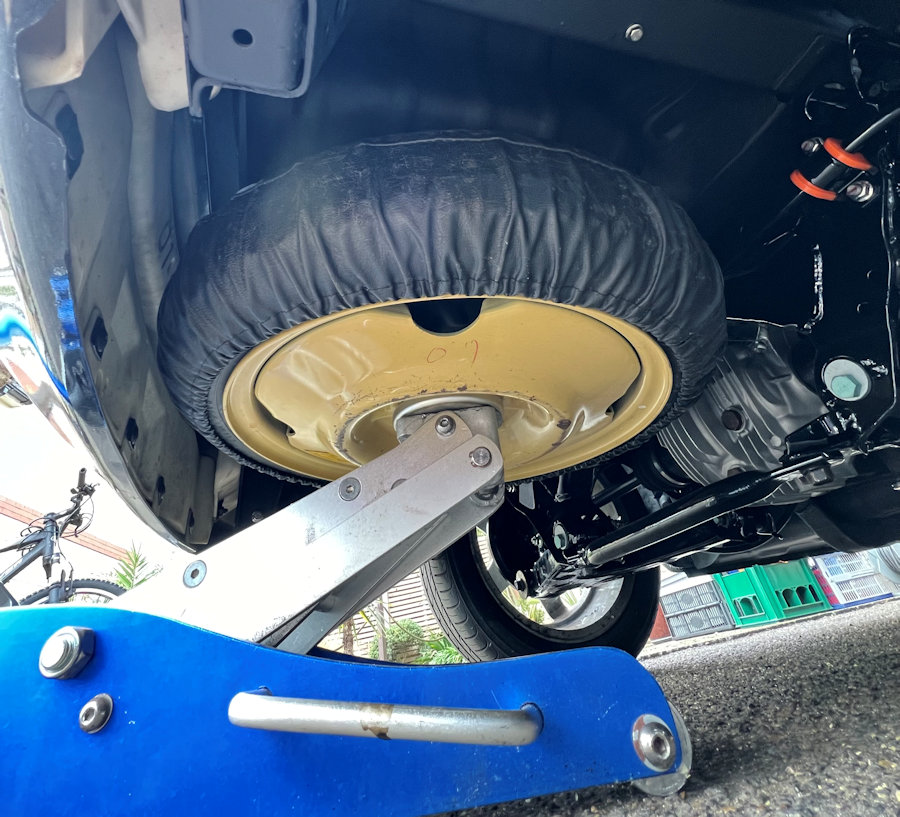
A quick test with the original space saver shows that there is plenty of room. We are very tempted to fabricate a test enclosure/diffuser to bolt into this space and help smoooth the airflow under this part of the car.
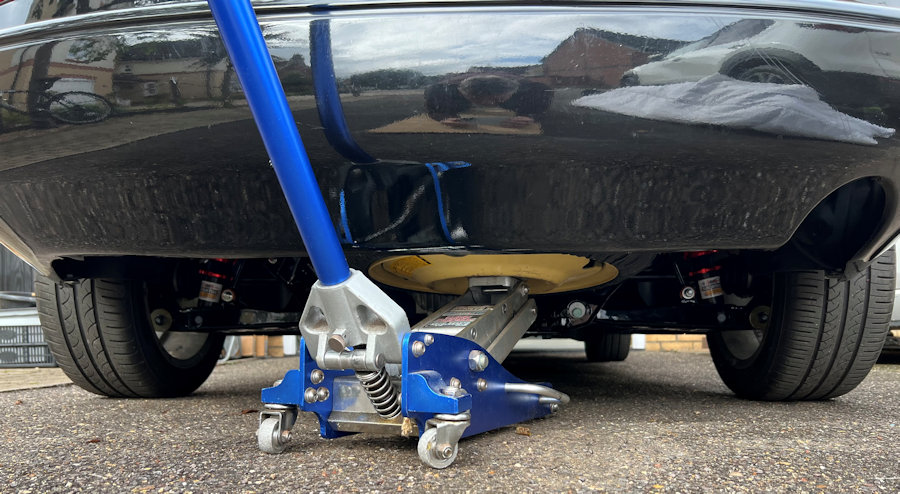
Fitting a space saver or storage in thi space would certainly not compromise ground clearance and enclosing would improve the air flow under the car. The rear bumper is basically a scoop catching air going under the car at the moment.
January 2025 •
February 2025 •
March 2025
January 2024 •
February 2024 •
March 2024 •
April 2024 •
May 2024 •
June 2024 •
July 2024 •
August 2024 •
September 2024 •
October 2024 •
November 2024 •
December 2024
January 2023 •
February 2023 •
March 2023 •
April 2023 •
May 2023 •
June 2023 •
July 2023 •
August 2023 •
September 2023 •
October 2023 •
November 2023 •
December 2023