

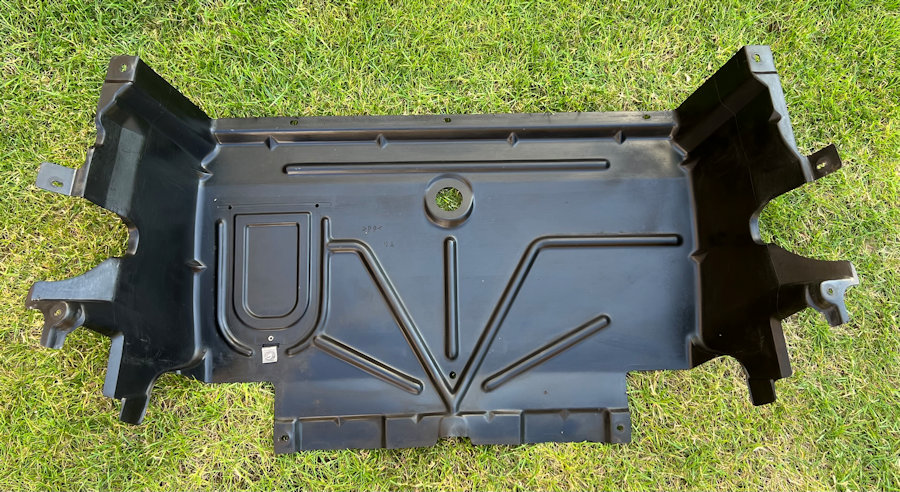
We pressure washed the undertray today and cleaned it up with some Autoglym products. It has come up nicely and we will seal the inspection flap and also seal the holes.
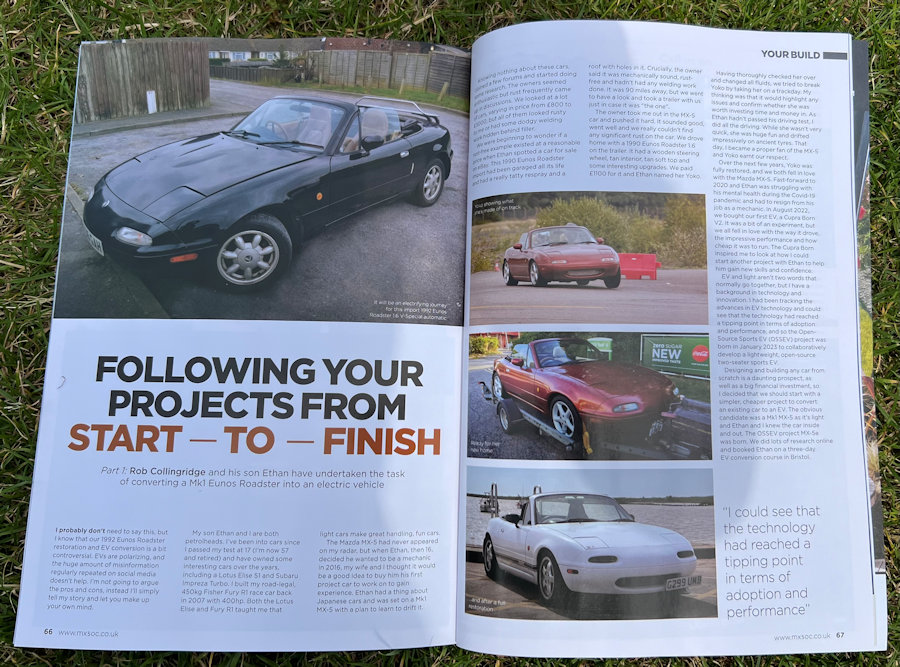
Our MX-5e project is being featured in a series of articles in the MX5 Owners Club magazine, which is called Soft Top Hard Top. The first in a series of four articles is in the August edition, which means we need to get a hurry on and complete the EV conversion!
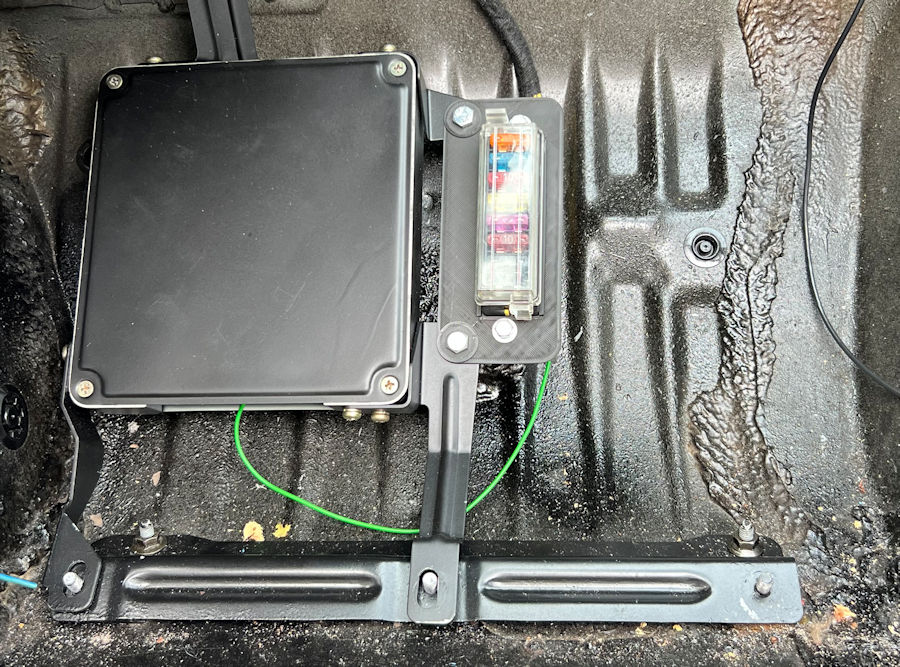
More progress with the MX-5e rewiring project. The Vehicle Control Unit (VCU) is located inside the case of the old ECU and we have added a custom fuse box here too for various things. We are getting close to finishing the wiring now and rebuilding the inside of the car.
The Vehicle Control Unit (VCU) is close to where the inverter will be (otherside of the bulkhead) and also close to the throttle pedal.
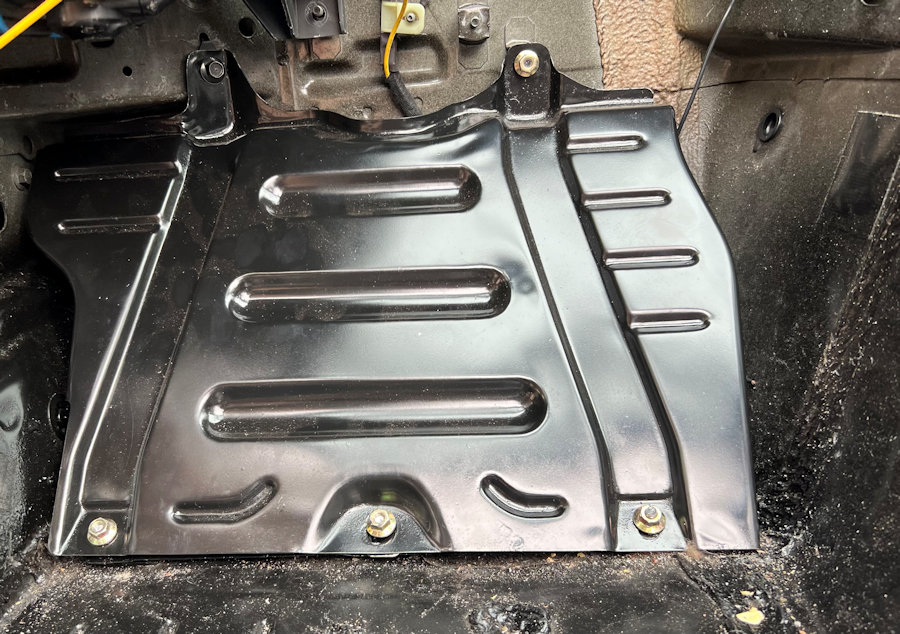
The ECU was well protected by sitting behind this cover plate in the passenger footwell.
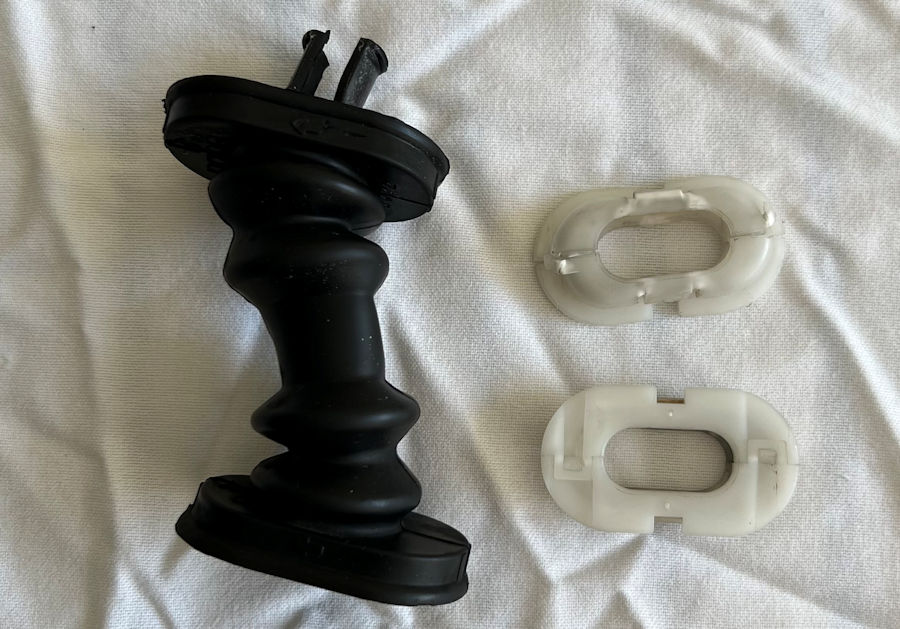
The door cables pass through these rubber seals and plastic clips. These have cleaned up nicely.
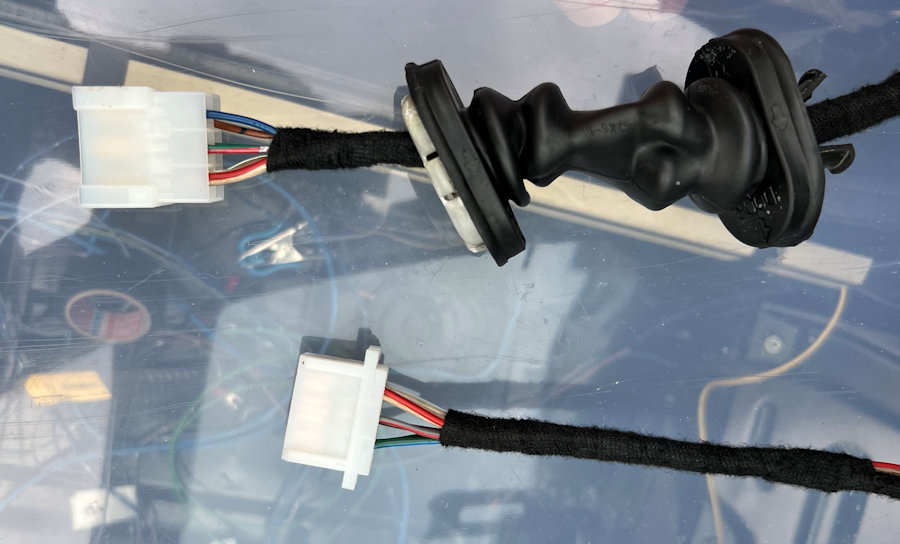
We have finished wiring up the doors and new door connectors. Using 6-way connectors with OFC cables for the audio and two wires for both the electric windows and central locking.
As we near the end of the MX-5e rewiring project we are starting to test stuff. The first element to test was the battery and fuse boxes, followed by the 12V battery charging sockets. We have the cigarette lighter on the dash permanently connected to the battery, to enable it to be used for this purpose. We also have a dedicated socket that we can plug our Optimate 2 trickle charger in to.
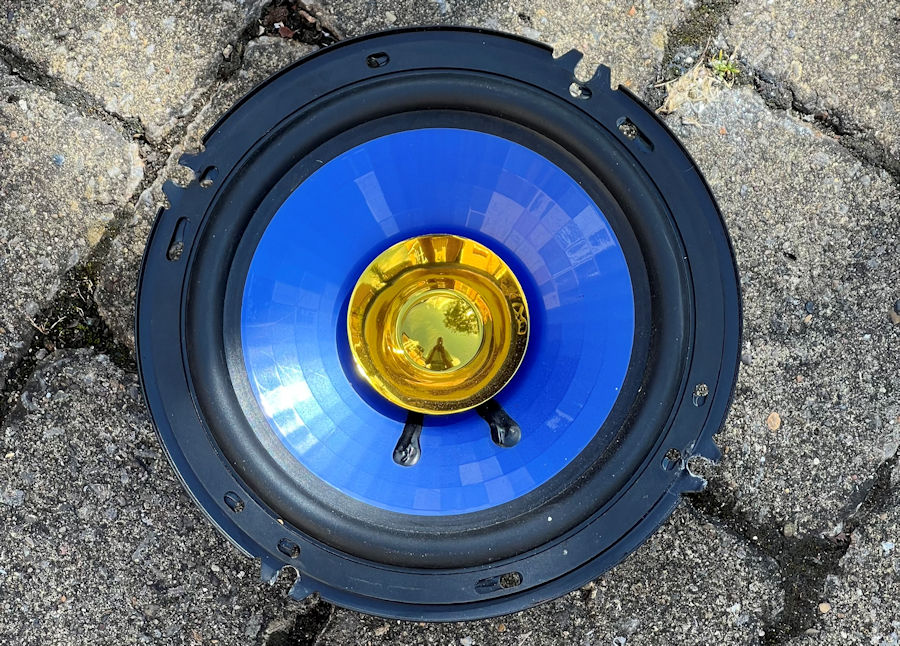
Good progress today. Testing the full audio system and the entertainments system in the MX-5e. We now have the stereo, speakers, sub-woofer and 10" touch screen working.
Unfortunately, one of the main front speakers gave up the ghost whilst listening to The Cult NOT DEFINED In my defence, The Cult is best played loud!
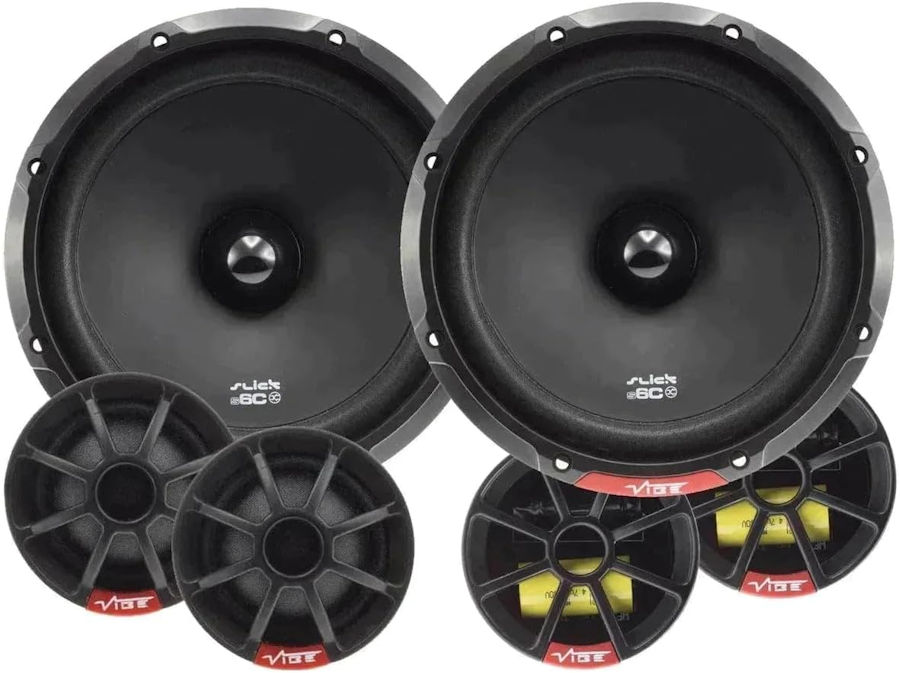
We ordered some replacement VIBE Slick 6.5" speakers.
We tested the central locking and it is all working fine. These seem to get pretty good reviews without being silly expensive. They come with new cross-overs and tweeters.
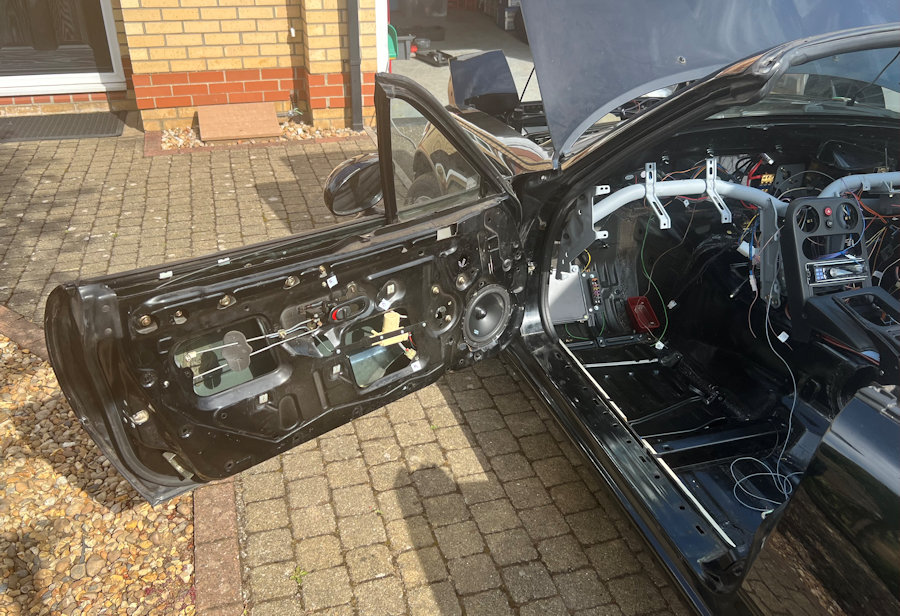
Whilst we were waiting for the new speakers to arrive, we tested the electric windows. We installed new cables and guides a few months back, so these worked really smoothly. The new speakers turned up just before lunchtime, so we installed and tested them too.
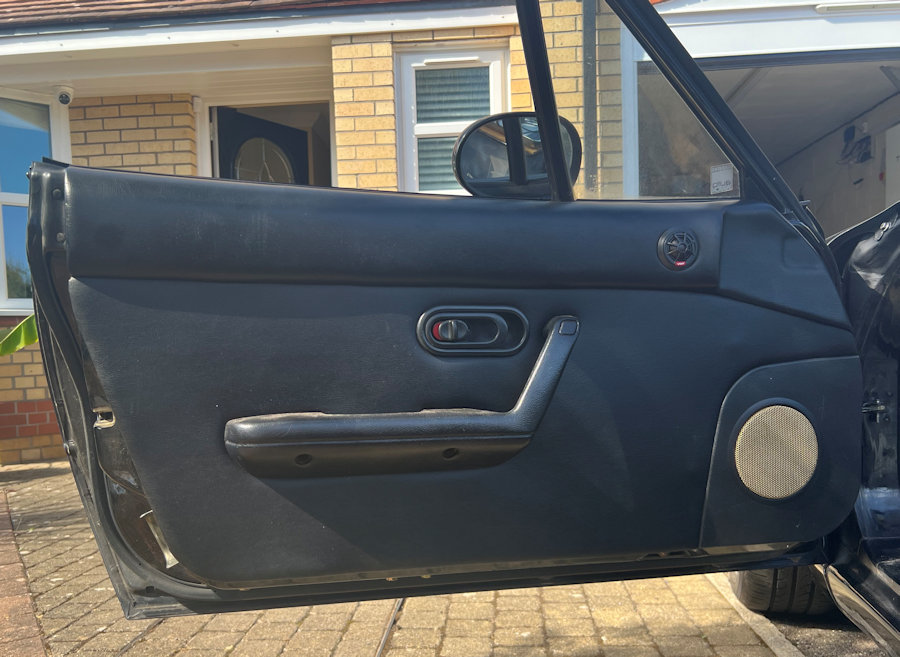
The new main speakers and tweeters went in quite easily. The doors are now complete. The audio system sounds really good! 😎
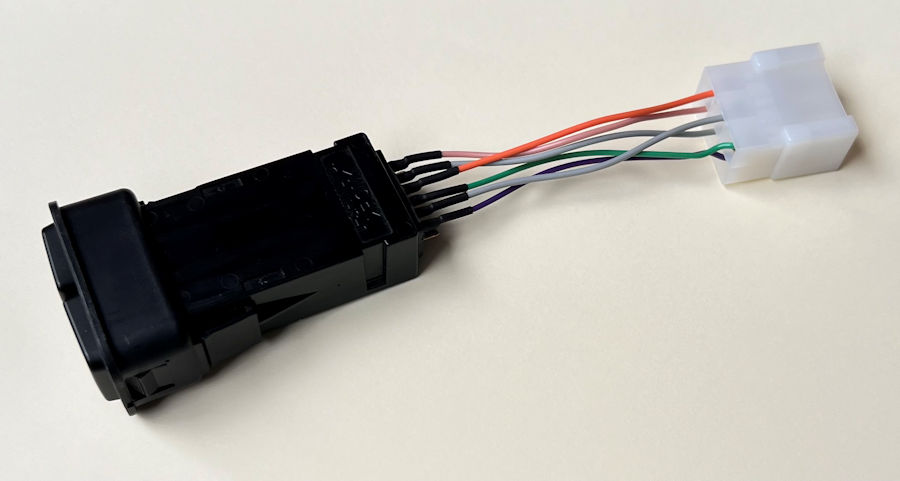
Today's task was to complete the wiring of the heated seats and to test it. I'm using a proper MX-5 switch from an NB but, I don't have the requried connector to fit this switch. So we cut back the connector housing and soldered a new connector directly to the old pins. This actually allows us to simplify the wiring too.
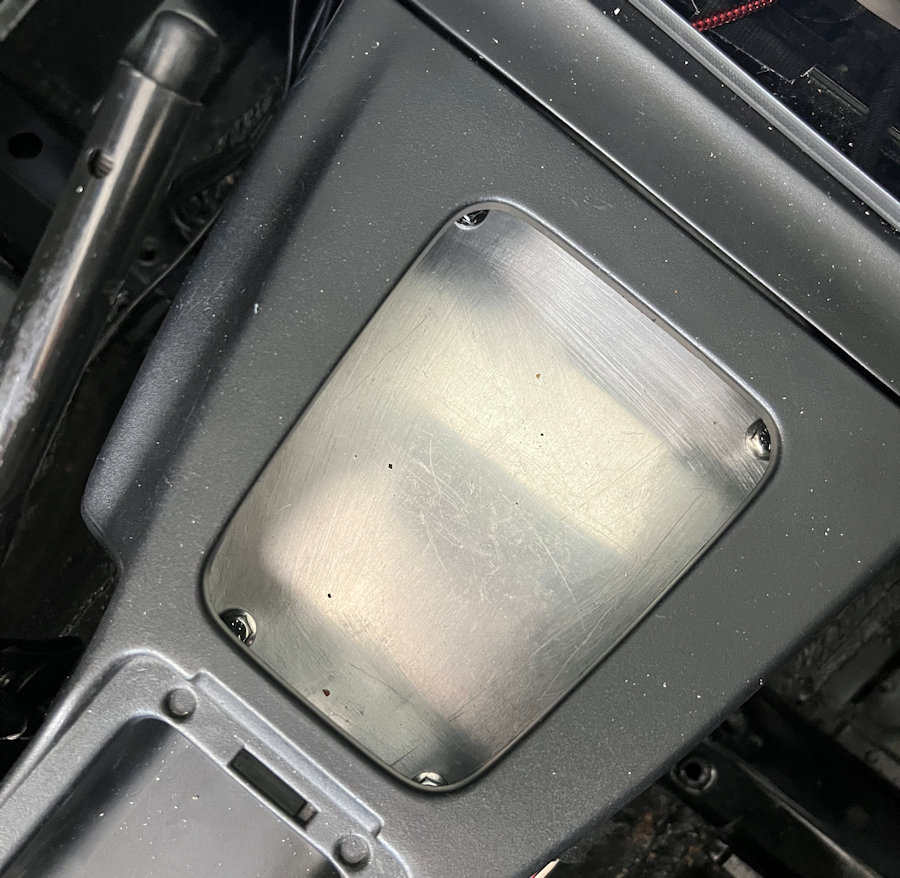
The automatic gear level came out of this hole but, there is a lot of space underneath it an a 3D printed mount to fill this hole could feature the Forward, Neural & Reverse (FNR) switch and a few other switches too. We are even thinking about mounting the Driver Control Unit (DCU) PCB underneath it.

With the heated seats wired up and tested as OK, we started looking at some of the controls. There is a nice hole in the center console for a switch plate, which sits where the automatic gear lever used to be. We designed a suitable switch plate to be 3D printed. This includes three momentary switches to select the vehicle mode and another 4 momentary switches to select the driving profile. Each switch has a custom back lit logo beside it to show the driver's selections. These are being lit up using addressable LEDs (to enable colour and brightness to be changed) through a vinyl cut icon.
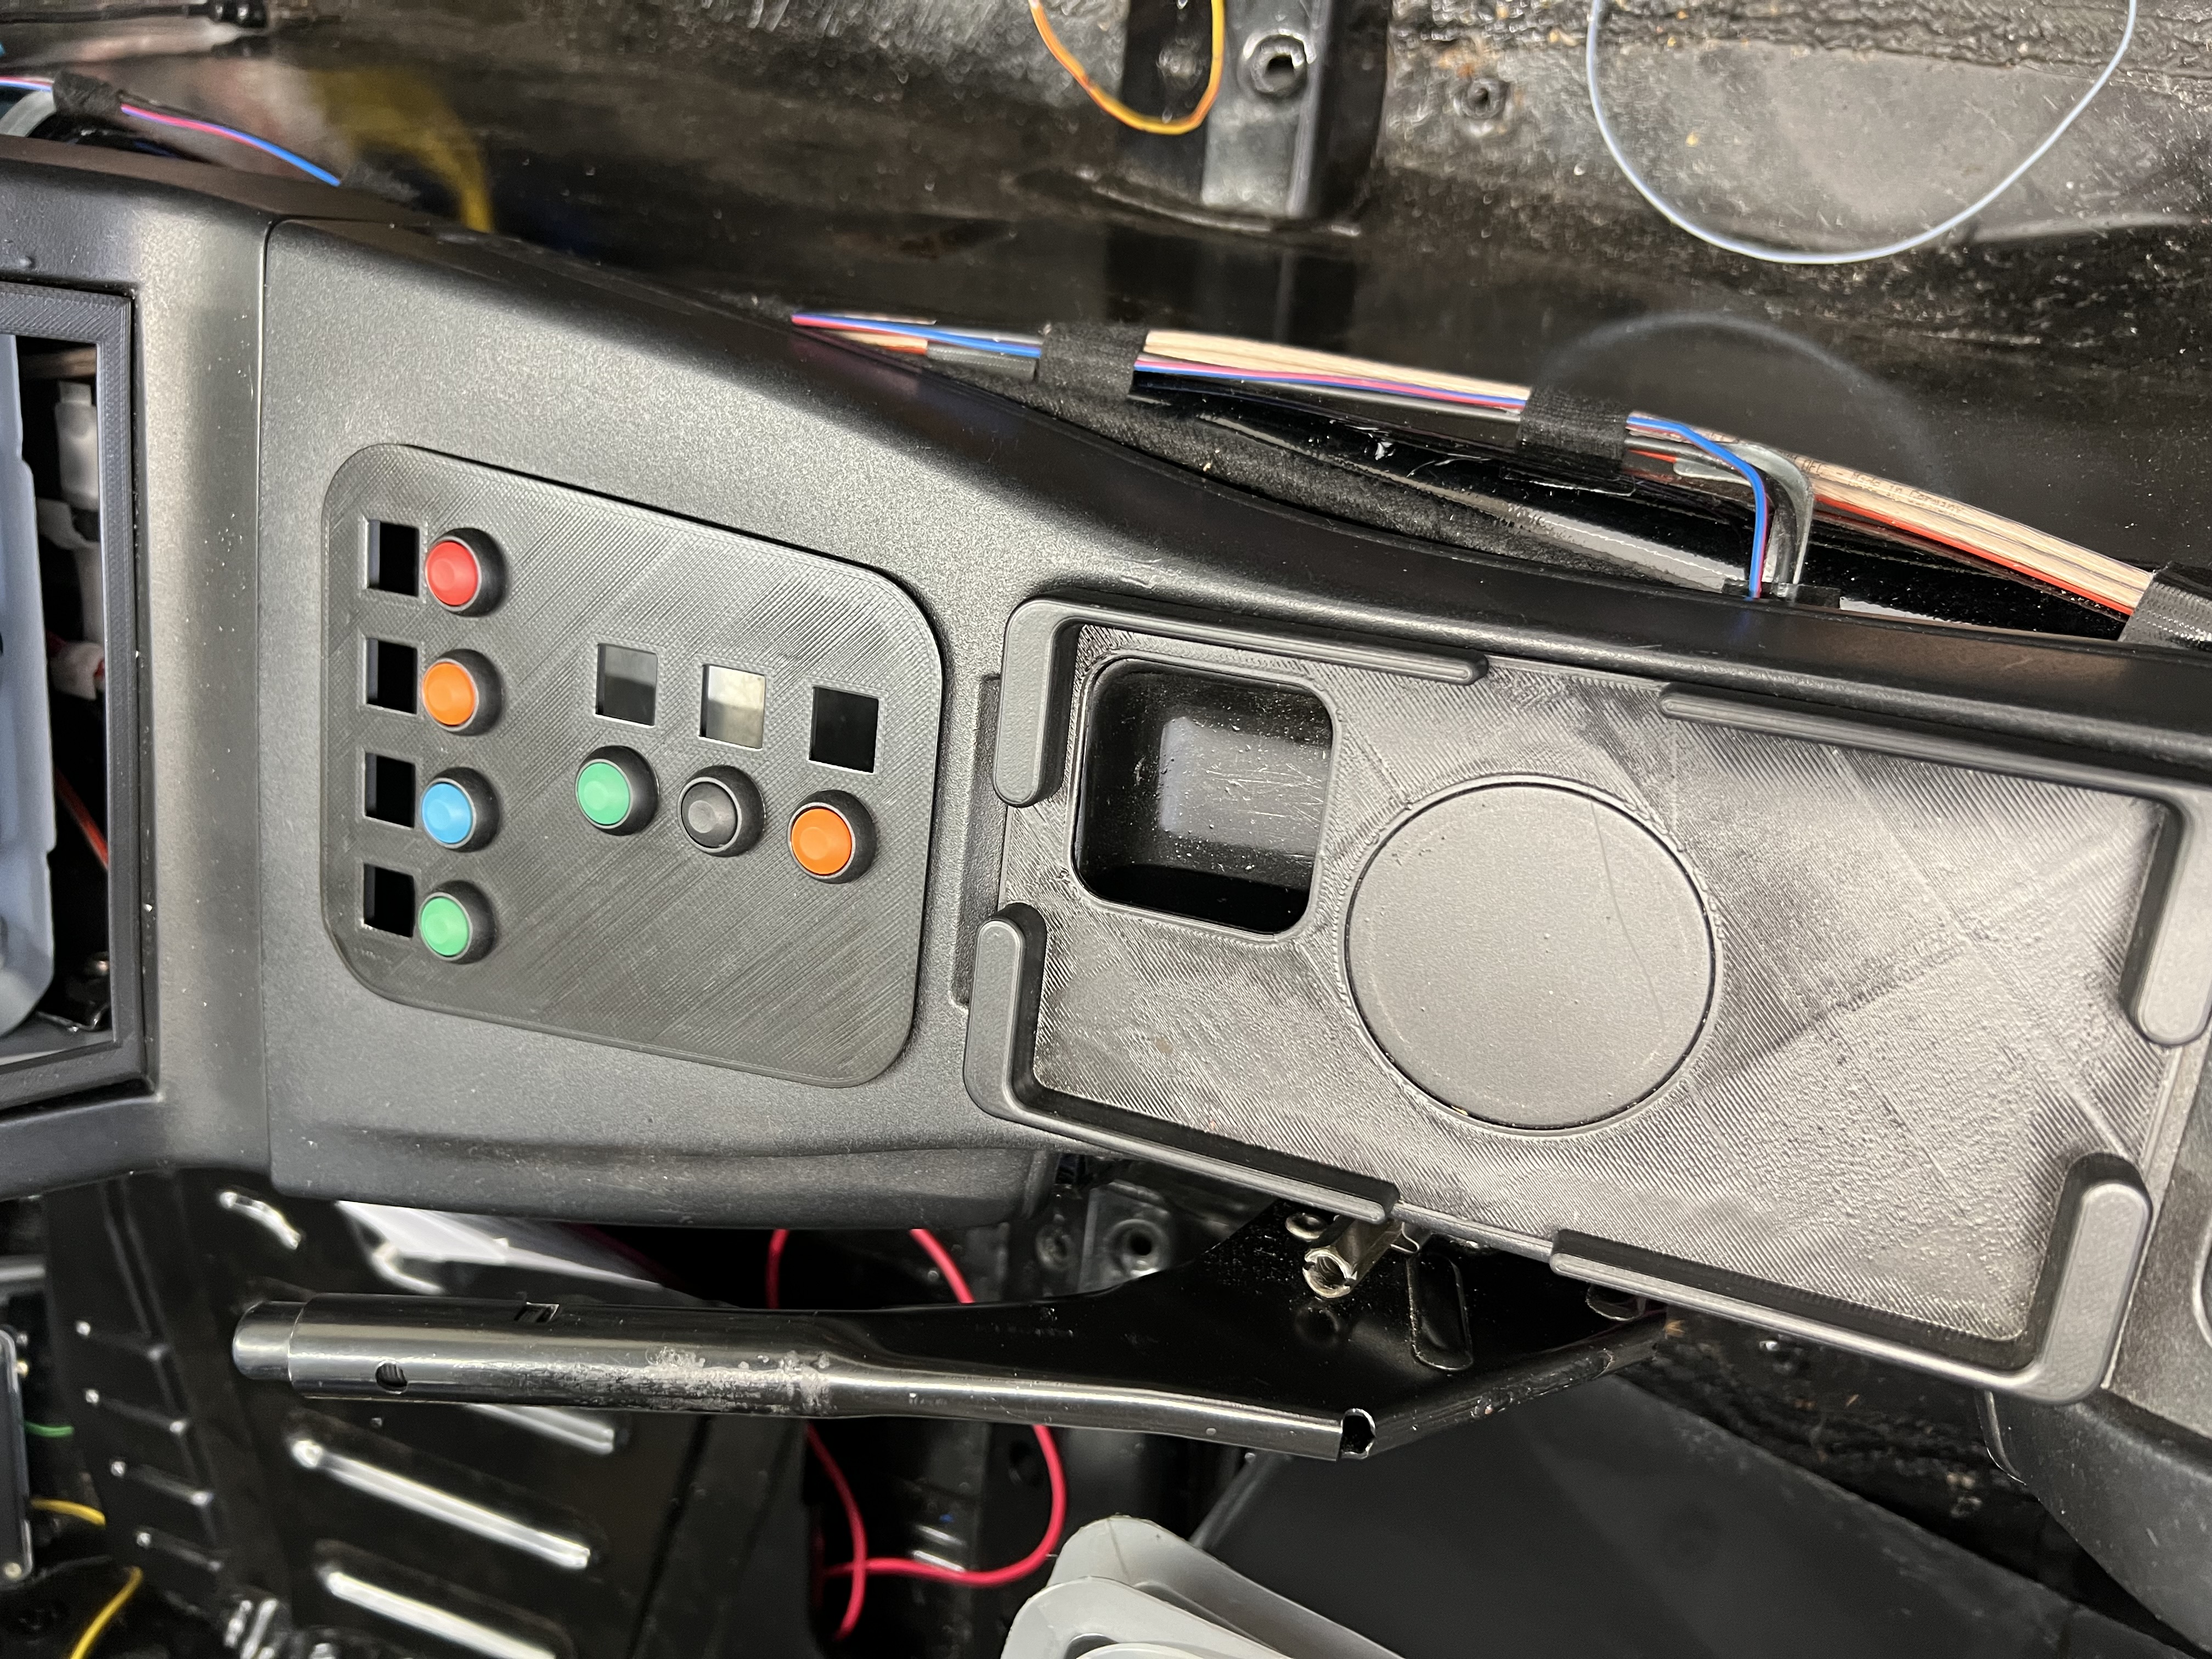
This is the 3D printed switch plate in place, with colour coded switches. The top four are for the driving profile; eco, normal, sport and race. The lower three are for the vehicle mode; forward, neutral and reverse.
Rob has a friend with a vinyl cutter, so anything is possible 😎
We have gone for bright colours, to make it easy to locate the required switch quickly.
January 2025 •
February 2025 •
March 2025
January 2024 •
February 2024 •
March 2024 •
April 2024 •
May 2024 •
June 2024 •
July 2024 •
August 2024 •
September 2024 •
October 2024 •
November 2024 •
December 2024
January 2023 •
February 2023 •
March 2023 •
April 2023 •
May 2023 •
June 2023 •
July 2023 •
August 2023 •
September 2023 •
October 2023 •
November 2023 •
December 2023