

The ECU enclosure has been refurbished to house the Vehicle Control Unit (VCU). Yes, I know some of the brackets are fitted incorrectly in this picture 😊

We are going to reuse the ECU enclosure as it is in a nice location and should protect the Vehicle Control Unit (VCU) nicely. This will be cleaned up and painted.

We started the MX-5e wiring in earnest today, working out where all the major components will sit in the MX-5e. We are reusing the ignition barrel, lock and keys. It's not very strong but this provides a physical steering lock too. The MX-5e will be started by turned the key through ACC and ON to the (momentary) START position. Turning the ignition off does not immediately turn the car off though.

Our differential was delivered back from McNeill Manufacturing Engineering today, part of our MX-5e differential upgrade project.

With the ECU removed, we have replaced the cover. We plan to mount the Vehicle Control Unit (VCU) and Driver Control Unit (DCU) behind this cover plate.

Before we start the MX-5e wiring, we needed to remove everything from the bulkhead in order to paint all the brackets, steering column, etc.

With the painted parts back in place, we can properly start the MX-5e rewiring. The only bit of the wiring loom that we are not modifying is the harness that runs from the 'heater blower motor' to the 'heater blower switch'.
The super observant will notice the new dash bar. We have two dashes for the MX-5e and have been using a painted beige one up till now, for testing. We have a 'new' black one to go in when the time comes.

Today's job was to label up the wiring loom in the cabin and remove the ECU and all of the wiring. The immobiliser and central locking system have gone too.
A lot of this is simply redundant in an EV and it is just going to be simpler to rewire the whole car from scratch. This will also save a lot of weight and ensure the whole thing is colour coded for easy diagnostics and very reliable. Rob wired his Fisher Fury R1 from scratch, so we don't foresee an issues.

The whole lot weighs just under 6kg and that doesn't include all the binding tape we removed.

We plan to leave the OEM lighting on the MX-5e as it will be much easier to register as an EV. We have a few background projects looking at lighting upgrades though and are designing and rewiring the car with these in mind. One of them is our MX-5e LED front side lights project. We have have just got the PCB back from manufacturing for the lighting module. Total cost is about £6 per side.

Finished rebuilding the front end! 😎 We have a freshly powder coated subframe and suspension arms, our new Meister R coil-overs, new polybushes all round, new ball joints and rod ends, new caliper bolts, refurbished and depowered steering rack, new discs and pad, refurbished and repainted calipers and refurbished uprights and brake dust shields. It is basically all new!

It is nice to get the MX-5e outside in the sunshine again and have a bit more room to work on it. We have a few jobs to do before we spin it around and raise it up inside the garage again, to remove the petrol tank and rebuild the rear end.
The depowered steering feels super light, though it will weight up a bit with the motor and batteries on board.

Whilst we have the MX-5e outside, it makes sense to strip the interior again and remove the dash. We are leaving the dash structural bar though as we are now rewiring the whole car.

We are planning to use the Power Plant Frame (PPF) as it is a structural element that stops the diff rotating under load. We have started cleaning it up and it is coming up quite nicely. The plan is to properly polish it. The front end of this will be bolted to our custom engine mounting frame.

As part of project to upgrade the MX-5e differential, we dropped the casing off with G19 Engineering this morning.

The differential mounting plates were a bit of a state but, having separated the two parts and cleaned up the one bit we need to keep, they look like this. These should work well with the polybushes once they have been shot-blasted and powder coated.

Lots of little jobs today, including sorting out these Moog front upper ball joints. We had previously had them press fitted by a local garage but, I had to buy a new circlip pliers kit to fit the safety circlips to these and then use a suitably sized cup from our bush removal/installation kit to get the rubbers on. They are a super tight fit! These ball joints also have grease nipples on the top side.

The first part of upgrading our differential was to remove the aluminium casing, which is held on by a number of bolts. This shows that our differential is in pretty good condition, with no obvious wear on the teeth of the crown and pinion gears. This part has been shipped to McNeill Manufacturing Engineering to be upgraded so that it can better handle the 350Nm torque from our Nissan Leaf motor.

Now that we are 100% sure we need to remotely mount the inverter in the MX-5e, we have ordered a kit of parts to enable this from Inductive Autoworks.

The speedometer sensor is a little big bigger than I expected and it weighs 116g. It fits in a 19mm diameter hole.

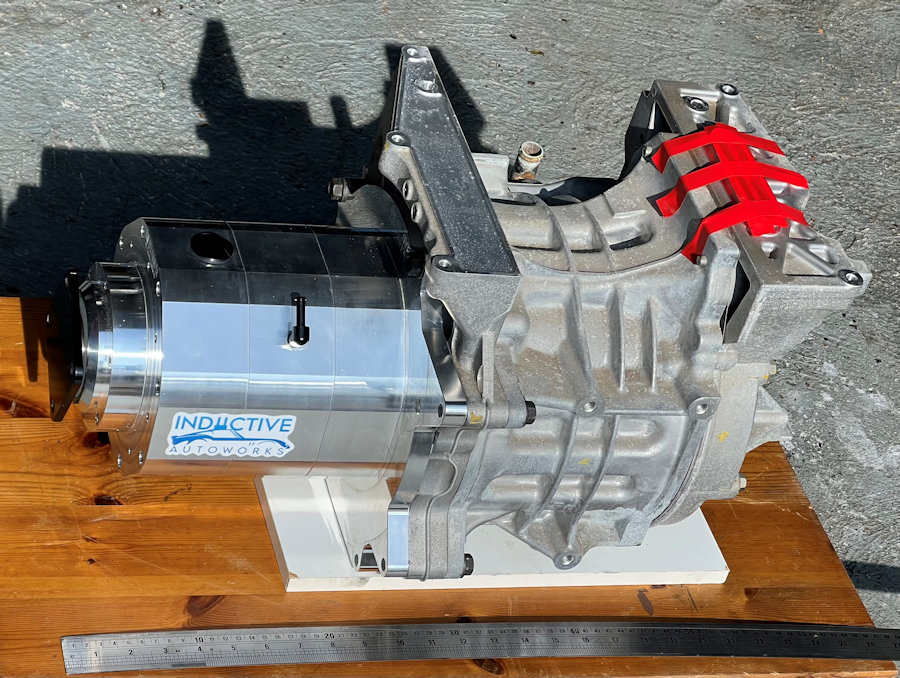
We finally fitted the reduction gearbox from Inductive Autoworks, so that we could trial fit the power unit in the MX-5e. As we originally assumed, there is no way this will fit in the tunnel with the inverter in place. Our plan is to remove it and remotely mount it. Fortunately, Inductive Autoworks provide a billet aluminium kit to simplify this process.

Removing the inverter is easy. It is held in place on top of the motor by six bolts and behind this cover are three bolts that make the electrical connections.

You simply undo these three bolts (one for each phase) and the inverter lifts off.

Inverter removed. To put this into persepective, the unit in this state is about the size of an MX-5 gearbox.

Trial fitting was challenging because of the weight and limited access. We slowly raised the unit up on wooden blocks to test the fitment. It sits a little bit further forward than we initially planned but this gives nice clear access to connect the inverter.

With the motor sitting in the right location, we have plenty of battery space. The steering rack and anti-roll bar have yet to be fitted though. If we need more space, then we can fit batteries where the fuel tank currently sits.

We then started rebuilding the front suspension with new alignment bolts and freshly powder coated suspension arms. All new ball joints too.

The speedometer arrived today for the MX-5e from Speedhut.

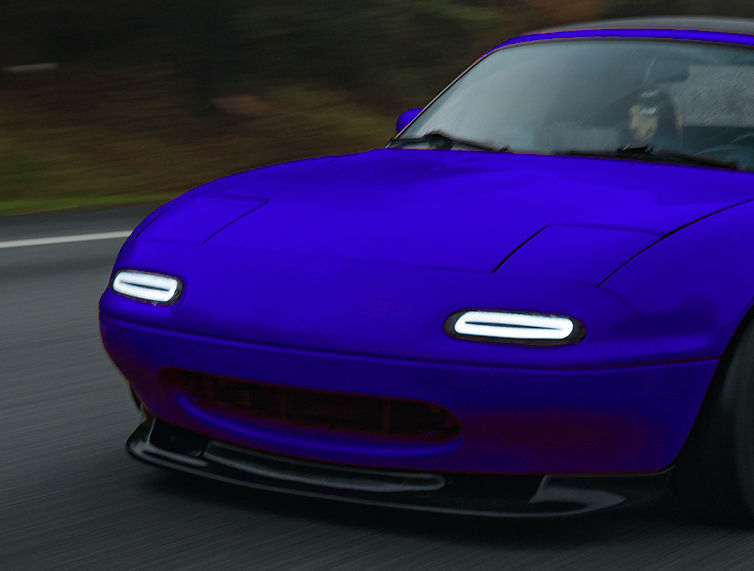
More progress on the MX-5e front side lights project. We have 3D printed our chosen lighting module and test fitted it to the car. The outer "ring" is white LEDs (side lights / DRLs) and the inner bar is made up of orange LEDs (indicators). We are not fans of strobing indicators, so the white part might be switched off when the indicators are in use, to make them much more visible.

We have also designed this matching PCB and sent it off to be manufactured.

We applied a second coat of underseal to the MX-5e today. The restoration of this car is the time consuming bit!

Rob has been progressing the MX-5e front side lights project. The goal was to still develop our own custom LED lights for the MX-5e but, we have been looking at other options. This involves using lights from Carbon Miata (assuming we can get them in the UK).
January 2025 •
February 2025 •
March 2025
January 2024 •
February 2024 •
March 2024 •
April 2024 •
May 2024 •
June 2024 •
July 2024 •
August 2024 •
September 2024 •
October 2024 •
November 2024 •
December 2024
January 2023 •
February 2023 •
March 2023 •
April 2023 •
May 2023 •
June 2023 •
July 2023 •
August 2023 •
September 2023 •
October 2023 •
November 2023 •
December 2023